
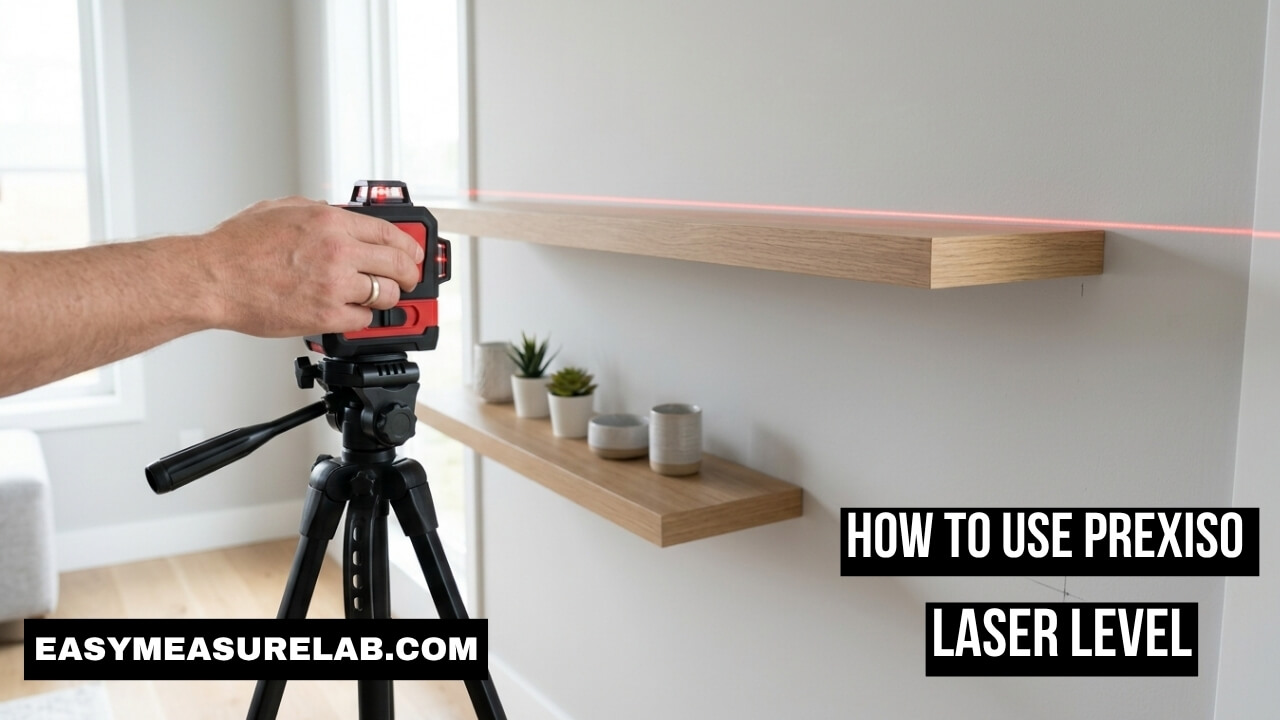
I used a basic bubble level for years. My wall shelves were always a little bit crooked. I got very tired of fixing bad holes in my drywall. I finally bought a new tool. I had to learn how to use prexiso laser level tools the right way. It completely changed how I do home projects.
You do not need to be a pro to use this tool. I am just a normal person who likes fixing things. The box can look a bit confusing at first. But the tool is very easy to use once you know the secret. I will show you exactly what I learned. You will hang things perfectly straight every single time.
Why I Upgraded to a Laser Level
I want to share why I bought this specific tool. I was trying to build a huge gallery wall. I had ten picture frames. Doing this with a normal level was a nightmare.
I gave up on the first day. I went online and did some reading. I read a great guide from Bob Vila on laser levels and decided to buy one. The Prexiso brand was cheap and had good reviews.
| Old Way | The Laser Way |
| Hold level on wall | Put tool on a tripod |
| Draw line with pencil | See a bright red line |
| Smudge paint by mistake | Hands are totally free |
How to Use Prexiso Laser Level: My 7 Easy Steps
It took me a few minutes to figure out my new toy. I made a few silly mistakes at first. I want to save you that time. Here is the exact 7-step process I use every time I turn it on.
Step 1: Insert Fresh Batteries
You must start with good power. The tool takes standard AA batteries. Open the bottom door. Put the batteries in. Make sure the plus and minus sides face the right way.
Step 2: Pick a Sturdy Mount
You need a solid place to rest the tool. I tried putting it on a wobbly chair once. That was a bad idea. The lines danced all over the wall. You must put it on a tripod, a flat table, or use a magnetic mount.
Step 3: Unlock the Internal Pendulum
This is the biggest secret. The laser sits on a tiny swing inside the plastic box. We call this a pendulum. Before you turn it on, you must slide the lock switch to the open position. This lets the laser swing freely to find the true level using gravity.
Step 4: Turn the Laser On
Now you can power on the tool. A bright line will shoot out onto your wall. You might see a red line or a green line. Green lines are easier to see in the sun. Red lines are fine for indoor work.
| Beam Color | Best Place to Use |
| Red Laser | Inside bedrooms or dark kitchens |
| Green Laser | Rooms with huge sunny windows |
Step 5: Watch for the Blinking Warning
Sometimes the line will blink on and off. Do not panic. It is not broken. The blinking means the tool is tilted too far on your table or tripod. Move the box to a flatter spot until the blinking stops.
Step 6: Line Up Your Project
Once the line is solid, you are ready to work. You can match your picture frames right up to the glowing line. You can screw a shelf directly onto the light. You do not even need a pencil.
Step 7: Lock It Safely After Use
When your project is done, turn the power off. Then, you must lock the pendulum again. Slide the lock switch closed. This stops the fragile swing from rattling around in your toolbox.
| Issue | What It Means | Fix |
| Fast Blinking | Tool is tilted too much | Put tool on a flatter surface |
| Slow Blinking | Low battery power | Put in fresh AA batteries |
| Dim Line | Room is way too bright | Close your window blinds |
Mounting Options I Actually Use
Setting the tool on a table is okay. But you often need the line high up on a wall. I had to find better ways to hold the tool in the air.
Using a Basic Tripod
This is my favorite method. The Prexiso has a little threaded hole on the bottom. It fits right onto a normal camera tripod. You just spin it on. Then you can raise or lower the tripod legs to put the line exactly where you want it.
The Magnetic Wall Clamp
Some models come with an L-shaped plastic bracket. This bracket has strong magnets on the back. I love this thing. I stick it right onto the metal corner bead on my drywall. I also stick it to my fridge when I am working in the kitchen.
| Mount Type | Best For |
| Camera Tripod | Low or middle wall heights |
| Magnetic Clamp | Metal doors or fridge work |
| Step Stool | Quick jobs near the floor |
Projects That Are Way Easier Now
I use this tool for almost everything now. It saves me so much stress. I want to share two projects that made me really appreciate this little red box.
Hanging Kitchen Cabinets
I helped my brother hang new cabinets last month. We read a guide from Family Handyman on cabinet installation to prepare. We set the Prexiso on a tripod.
It shot a perfect horizontal line across the whole kitchen. We screwed a wood block right on that red line. We rested the cabinets on the wood block. Every single cabinet lined up perfectly. It took half the time.
Tiling a Bathroom Wall
Tiles must be straight. If the first row is crooked, the whole wall looks awful. I set the laser level on the bathroom floor. It gave me a perfect grid.
I just lined up my tile edges with the glowing lines. It was so much faster than drawing chalk lines. The experts at This Old House talk about tile layout, and the laser makes their steps a breeze.
| Project | Old Struggle | Laser Fix |
| Picture Frames | Guessing the hook spots | Laser shows exactly where to nail |
| Curtain Rods | Measuring from ceiling | Laser matches both window sides |
| Painting Stripes | Using sticky blue tape | Paint straight over the light line |
Common Mistakes I Made at First
I messed up a few times when I first started. I want to share my mistakes. You can learn from my silly errors and save time.
Do Not Look at the Light
This sounds like a joke, but it is real. The beam is very bright. Do not stare right into the glass window. It hurts your eyes. Turn the tool off before you walk in front of it.
Trust the Tool, Not Your House
Old houses are tricky. My house was built fifty years ago. My floors are not flat. My ceilings sag in the middle. I tried to line up a shelf with my ceiling. The laser said the ceiling was crooked.
I got confused. I checked it three times. The laser was right. The house was wrong. Always trust gravity. Gravity never lies. If you match a crooked ceiling, your shelf will be crooked too.
| My Mistake | The Better Approach |
| Leaving power on | Always lock the switch to travel |
| Measuring from floor | Trust the true level laser line |
| Using cheap batteries | Buy good batteries for a bright line |
Final Thoughts
Learning how to use prexiso laser level tools took me about ten minutes. It is truly a simple tool. You put it on a flat spot, unlock the swing, wait for a solid line, and get to work.
I honestly wish I bought one ten years ago. I would have saved so much time. No more messy pencil marks on my walls. No more asking my wife if a picture looks straight. The laser does all the hard work. Buy a cheap tripod, grab some fresh batteries, and enjoy your next home project.
FAQs
How do I stop my Prexiso laser level from blinking?
The tool blinks when it is tilted too far. Set the tool on a flatter surface. The internal swing needs room to balance itself using gravity.
Can I use a Prexiso laser level outside?
You can use it outside, but the sun makes the line hard to see. It is best to use it outside at dusk or dawn. Green lasers show up better outside than red lasers.
Does a Prexiso laser level need to be calibrated?
Most basic models come perfectly set from the factory. You do not need to adjust them. If you drop it hard, it might break. Always handle it very gently.
What kind of tripod fits a Prexiso laser?
Look at the bottom of the tool. It has a standard 1/4-inch screw hole. This fits almost any normal camera tripod you buy at the store.
How do I lock the pendulum on a Prexiso?
You just slide the main power switch to the closed or off position. You will feel a small click. This locks the swing inside so it does not rattle when you carry it.