
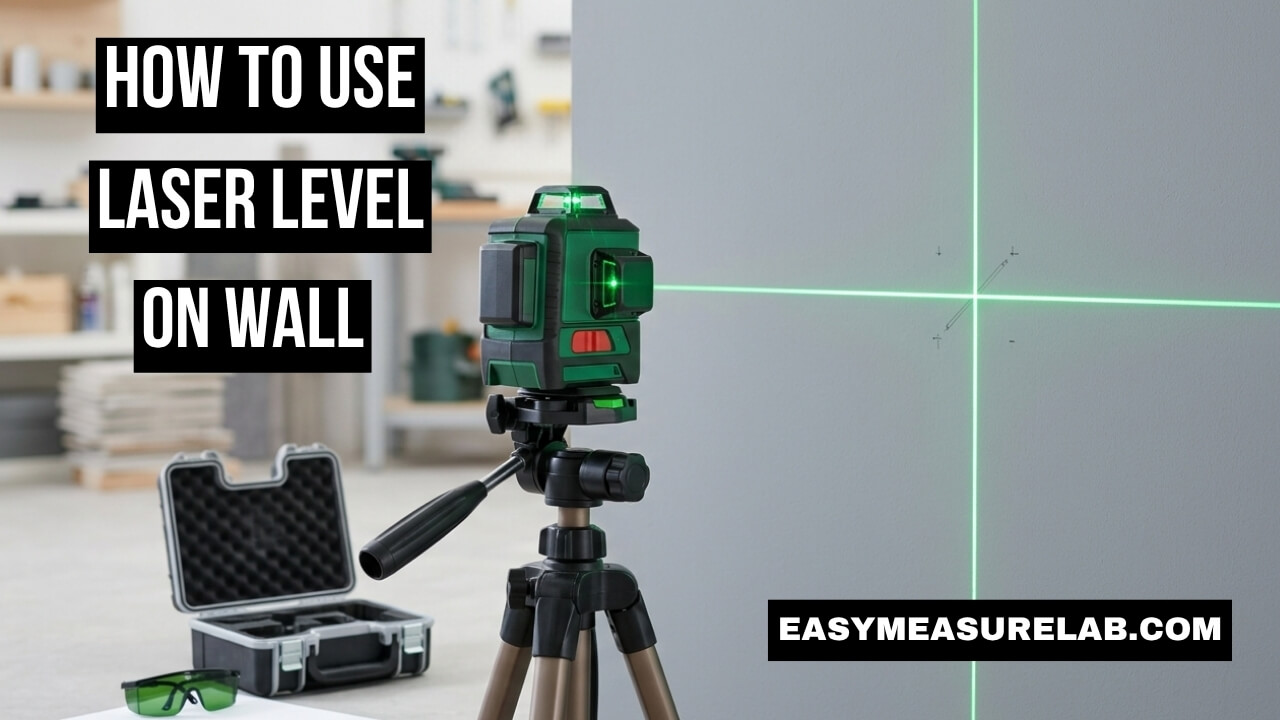
I bought my first laser level three years ago. I wanted to build a gallery wall in my living room. I tried using a basic bubble level first. It was a complete disaster. I put ten extra holes in my drywall. My frames still looked crooked. I felt so frustrated.
Then a friend showed me a better way. He taught me how to use laser level on wall surfaces. It changed everything for me. My next project took half the time. Every single frame lined up perfectly. Now, I never start a wall project without it. If you want straight lines without the headache, you are in the right place. I will show you exactly what I learned.
Why Learning How to Use Laser Level on Wall Changes Everything
Before we dive into the steps, let me explain why this tool matters.
A laser level takes away the guesswork. You do not have to hold a heavy tool against the wall. You do not need three hands to draw a line. The tool does the hard work for you. It frees up your hands. You can focus on measuring and marking.
The Old Way vs The New Way
Using old tools can slow you down. A long straight edge is clunky. A small bubble level is easy to tilt by mistake.
When you learn how to use laser level on wall projects, you work faster. The beam wraps around corners. It spans the whole room. You can see your exact line from ten feet away. This builds your confidence. You know your work will look professional.
| Comparison Point | Old Bubble Level | Modern Laser Level |
| Hands needed | Takes two hands | Hands-free operation |
| Line length | Very short (2 to 4 feet) | Very long (30+ feet) |
| Accuracy risk | High (easy to slip) | Low (auto-levels itself) |
The Big Mistake I Made First
You can learn from my early mistakes.
I thought I could just turn the machine on and start drilling. I was wrong. I set the laser on a wobbly chair. The cat walked by and bumped it. The line dropped an inch. I did not notice. I hung three shelves on a slant. I had to take them all down.
Always Use a Good Base
You need a solid base. The tool is only as accurate as what it sits on.
I highly recommend buying a cheap camera tripod. Most lasers have a standard thread on the bottom. They screw right onto a tripod. A tripod lets you adjust the height easily. You can lock it in place. No more resting expensive tools on stacks of books.
| Mistake | What Happens | Better Approach |
| Stacking on books | Tool slides or falls over | Use a dedicated tripod |
| Bumping the base | The whole line shifts down | Lock tripod legs tight |
| Ignoring the blink | Lines end up crooked | Wait for steady solid beam |
Different Types of Laser Levels (And Which One You Need)
You might feel confused at the hardware store. There are many options.
You do not need a massive construction laser for your house. You just need something simple and reliable. Let us look at the main types. This will help you pick the right one for your wall.
Cross-Line Lasers
This is my favorite type for home use.
It shoots a horizontal line and a vertical line. They cross in the middle. It looks like a giant plus sign on your wall. This is perfect for hanging tile. It is great for aligning cabinet doors. It gives you a perfect square reference.
Dot Lasers
Dot lasers are a bit older.
They do not shoot a solid line. They just shoot a single red dot. You have to make a pencil mark on the dot. Then you move the dot and make another mark. You connect the marks later. I find these annoying. I prefer solid lines.
Rotary Lasers
Rotary lasers are for big outdoor jobs.
They spin a light around the whole room at high speed. They cost a lot of money. You do not need this to hang a picture. Stick to the cross-line model for indoor walls. If you want more details on tool choices, check out this great guide from Family Handyman.
| Laser Type | Best Used For | My Real Verdict |
| Cross-Line | Pictures, tiles, cabinets | Best value for DIYers |
| Dot Laser | Quick single point checks | Too slow for big walls |
| Rotary Laser | Grading yards, big builds | Overkill and too costly |
Exactly How to Use Laser Level on Wall (My Step-by-Step Method)
Now let us get to the fun part.
I will walk you through my exact setup. I use this method every single time. It never fails me. Follow these steps, and you will get perfect results.
Step 1: Prep Your Wall and Gear
Clear the area first. Move couches and tables away from the wall.
You want a clear path for the light beam. Grab your laser, your tripod, a pencil, and some blue painter’s tape. I always use blue tape instead of drawing on the wall. It saves me from painting over pencil marks later.
Step 2: Set the Tripod or Mount
Place your tripod about five feet away from the wall.
If you put it too close, the line might not stretch far enough. Spread the tripod legs wide. Make sure it feels very stable. Screw the laser onto the top mount. Snug it down tight so it does not spin.
Step 3: Turn It On and Let It Settle
Find the power switch. It usually acts as a pendulum lock.
Slide the switch to the “unlocked” or “on” position. The laser will project onto your wall. Here is the magic part. Most good lasers are self-leveling. Inside the plastic case, the laser hangs on a tiny pendulum. Gravity pulls it perfectly straight.
Step 4: Watch for the Blinking Light
This is a vital rule. Watch the beam closely.
If the line is blinking or flashing, stop. A blinking line means the tool is tilted too far. The internal pendulum cannot fix the tilt. You need to adjust the tripod legs. Make the base flatter. When the line stops blinking and stays solid, you are perfectly level.
Step 5: Adjust to Your Desired Height
Now you need the line exactly where your project goes.
Use the crank on your tripod to raise or lower the laser. Do not tilt the laser head up or down. Tilting it breaks the level line. Always move the whole unit straight up or straight down. Once the beam hits your target height, lock the tripod crank.
Step 6: Mark Your Spots
Walk over to the wall.
Do not stand directly in front of the laser box. You will block the light with your body. Stand to the side. Put a piece of blue tape on the wall where the light hits. Use your pencil to draw a tiny mark on the tape.
Step 7: Double Check Your Work
I always do a quick test.
I take my old manual bubble level. I hold it up against the red laser line. The bubble should sit perfectly in the middle. It always does. This simple check gives me total peace of mind before I drill holes.
| Project Step | What to Do | Why I Do It |
| Prepping | Put blue tape on wall | Stops pencil marks on paint |
| Mounting | Stand 5 feet back | Gives a wider beam spread |
| Checking | Watch for blinks | Blinks mean the line is bad |
Using a Laser Level for Gallery Walls
Gallery walls used to make me sweat. Not anymore.
A gallery wall has many frames. They need to look balanced. If one is off, the whole wall looks messy. Knowing how to use laser level on wall layouts makes this fun. I start by shooting a horizontal line across the exact center of the wall.
Finding the Anchor Point
I hang my biggest, most important frame first.
I center it on the laser line. This becomes my anchor. Then, I switch the laser to the cross-line mode. Now I have a vertical beam crossing my horizontal beam. I use the vertical line to space my next frames exactly two inches apart.
Working in Grids
You can slide the tripod left or right.
Keep the height the same. Move the vertical beam to line up the edges of your frames. It creates an invisible grid on your wall. You just match your picture hooks to the glowing grid. It takes all the math out of the job.
| Scenario | Challenge | Laser Level Fix |
| First Frame | Needs to be centered | Use main horizontal beam |
| Spacing Frames | Needs even gaps | Slide vertical beam to measure |
| Grid Layout | Keep edges aligned | Use cross-line plus shape |
Using a Laser Level for Hanging TVs
TV brackets are heavy and annoying.
You have to drill into studs. The bracket must be perfectly straight. If it is crooked, your expensive TV will look awful. A laser level is your best friend here. It makes a hard job very easy.
Finding the Studs First
First, I use a stud finder.
I find the left stud and the right stud. I put blue tape over the studs. Then I turn on my laser level. I set the horizontal beam exactly where the top holes of the TV bracket will go.
Drilling with Confidence
Now the beam shines right across my blue tape.
I make a mark where the red light crosses the stud. I know these two marks are perfectly level. I drill my pilot holes. I bolt the bracket to the wall. I never have to balance a heavy bracket in one hand while holding a bubble level in the other. For more heavy-duty mounting tips, Bob Vila has excellent advice.
Dealing with Bright Rooms and Hard-to-See Lines
Sometimes, things go wrong. Sunlight is your biggest enemy.
I tried to hang curtains in my sunroom at noon. The sun was so bright. I could not see the red laser line on the wall at all. I thought my battery was dead. It was not. Lasers just struggle against natural sunlight.
The Cardboard Trick
I learned a great trick for this.
I close all the blinds in the room. If it is still too bright, I take a piece of cardboard. I hold it against the wall. The laser shows up much better on brown cardboard than on white glossy paint. I mark the cardboard, then transfer the mark to the wall.
Red vs. Green Lasers
If you have extra money, buy a green laser.
Red lasers are cheap and common. Green lasers cost more. But green light appears much brighter to the human eye. A green laser cuts through bright daylight much better. If you work near big windows often, a green beam is worth every penny.
| Feature | Red Laser | Green Laser |
| Cost | Usually cheaper | Costs a bit more |
| Visibility | Good for dim rooms | Great for bright rooms |
| Battery Life | Lasts longer | Drains battery faster |
Using a Laser Level for Wainscoting and Trim
Adding wood trim makes a room look fancy.
I installed chair rail molding in my dining room. The room was huge. A standard level was useless. The walls were uneven. The floor sloped down in the corner. If I measured from the floor, my trim would be crooked.
Creating a Level Room Perimeter
A laser fixes sloping floors.
I put the laser in the dead center of the room. I set the height to exactly 36 inches. The laser shot a beam 360 degrees around the room. (Some models let you spin the base manually). I marked the beam on all four walls.
Ignoring the Floor
I ignored the floor completely.
I nailed my wood trim right along the laser line. When I finished, the trim was perfectly level. Yes, the gap between the floor and the trim changed slightly in the corner. But nobody looks at the floor. They look at the trim. The laser saved my dining room project. This Old House shares similar professional carpentry tricks.
Common Problems When Using a Laser Level
Nothing is perfect. Tools act weird sometimes.
I have run into a few annoying issues over the years. Do not panic if your tool acts up. Most problems have a very simple fix. Here are the most common things that happen and how to handle them.
The Line Keeps Blinking
I mentioned this earlier, but it happens a lot.
You turn it on. The line blinks on and off. You wait. It keeps blinking. This means the base is too slanted. The tool cannot self-level. You must move the tripod to flatter ground. Or adjust the tripod legs until the base bubble is closer to center.
The Beam is Very Thick and Blurry
Sometimes the line looks fuzzy.
It is not a sharp, thin line. It looks like a thick blurry stripe on the wall. This usually means the lens is dirty. Turn the tool off. Take a soft microfiber cloth. Gently wipe the glass window where the laser comes out. Dust on the glass scatters the light.
The Tripod Keeps Moving on Slick Floors
Hardwood floors can be slippery.
Tripod legs might slowly slide outward. This lowers the laser height while you work. It ruins your marks. I fix this by putting a small rubber mat under the tripod. A cheap yoga mat works perfectly. It grips the floor and keeps the legs totally locked in place.
| Issue | Typical Cause | Troubleshooting Step |
| Blinking line | Tool is tilted too much | Adjust tripod legs to flatten base |
| Fuzzy thick beam | Dusty laser glass lens | Wipe lens with soft dry cloth |
| Tripod sliding | Slippery wood floors | Put a rubber mat under the legs |
How to Care for Your Laser Level
These tools are sensitive. Treat them well.
Inside that plastic box is a delicate pendulum system. If you drop it hard, you can break it. A broken pendulum means your lines will never be straight again. I always pack my laser away carefully.
Always Lock the Pendulum
This is my biggest piece of advice.
When you finish working, turn the switch to “off” or “locked.” This physically clamps the internal pendulum in place. It stops it from bouncing around inside the case. Never throw a loose, unlocked laser level into the back of your truck. It will get ruined.
Remove the Batteries
I learned this the hard way.
I left my laser in the garage for a year. I needed it for a project. I opened the case. Battery acid had leaked everywhere. It ruined the metal contacts. I had to throw the whole tool away. If you are not using it for a month, take the batteries out.
Creative Ways to Use Your Laser Level
Once you learn how to use laser level on wall tasks, you get creative.
You will start finding new ways to use it. It is not just for pictures. I use it for painting. I use it for organizing my garage. It becomes an extension of your brain.
Painting Perfect Stripes
Have you ever tried painting thick stripes on a bedroom wall?
Using tape and a tape measure takes hours. Now, I just shoot my laser line across the wall. I lay my painter’s tape exactly below the red line. It takes two minutes. The stripes come out razor sharp every single time.
Aligning Cabinet Knobs
Kitchen cabinet handles can be tricky.
If one knob is higher than the rest, it drives you crazy. I use my cross-line laser for this. I shine the beam across the front of the cabinet doors. I line up the crosshair exactly where the knob should go. I drill the hole right on the red cross. Every door matches perfectly.
Understanding the Lock Mode Feature
We talked about the pendulum lock.
But did you know you can use the laser while it is locked? Most models have a manual mode. You hold a button down. The laser turns on, but the pendulum stays clamped tight. The line will flash every few seconds to remind you it is locked.
Why Use Lock Mode?
Why would you want an unlevel line?
Sometimes you want to paint a diagonal stripe. Or you want to hang pictures matching the slope of your stairs. In lock mode, you can tilt the tripod sideways. The laser shoots a straight line at a tilted angle. It is a fantastic feature for creative wall designs.
Final Thoughts
Learning how to use laser level on wall layouts truly changed my DIY life. It removed the stress from measuring. It stopped me from ruining my drywall with bad holes. I feel much more confident starting new projects now. I know my results will look sharp and clean.
Do not overthink the process. Buy a basic cross-line model and a cheap tripod. Practice in your living room first. Once you see that bright line stretching across your room, you will get it. You will wonder how you ever lived without one. Grab your tool, trust the beam, and enjoy the perfect results.
Frequently Asked Questions (FAQ)
Can I learn how to use laser level on wall projects without a tripod?
Yes. You can rest the tool on a ladder, a stable table, or a stack of sturdy boxes. However, adjusting the exact height is much harder without a tripod crank.
Why does my laser line keep flashing on and off?
A flashing line usually means the tool is tilted beyond its self-leveling limit. You need to adjust your base to make the unit sit flatter. Once flat, the flashing stops.
Are green laser levels better than red ones?
Green lasers are much brighter to the human eye. They are much easier to see in rooms with lots of natural sunlight. However, they usually cost more and drain batteries faster.
Can I use a laser level outdoors in the sun?
Standard indoor cross-line lasers are very hard to see outside in direct sun. For outdoor work, you usually need a rotary laser with a special digital detector to find the beam.
How do I know my laser level is perfectly accurate?
You can test it. Shine the laser line on the wall. Take a trusted manual spirit level and hold it against the projected line. If the bubble sits dead center, your laser is perfectly calibrated.