
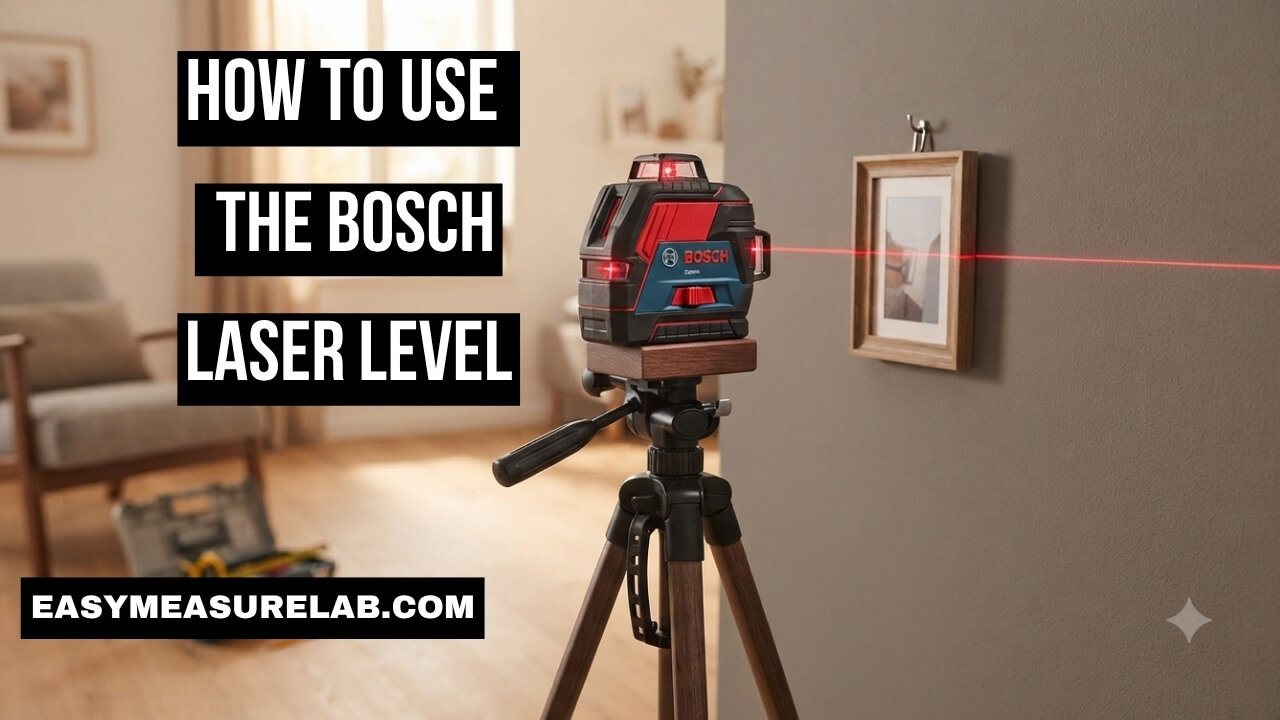
I still remember the day I bought my first tool. I really needed to know how to use the Bosch laser level to hang some new kitchen cabinets. I took it out of the box and stared at the buttons. It felt a bit confusing at first. I made a few silly mistakes. But I figured it out quickly. Now, I use this tool for almost every home project.
If you just bought one, you are in the right place. This tool will save you so much time. You will never want to use a standard bubble level again. In this guide, I will show you exactly what to do. I will share the mistakes I made so you can avoid them. You will learn how to get perfectly straight lines every single time.
Getting Started: How to Use the Bosch Laser Level Right
You need to know a few basics before you turn it on. The tool is very smart. But it only works well if you set it up right.
Unlocking the Pendulum
This was my very first mistake. Most Bosch models have a lock switch on the side. This switch holds the inner parts safe when you move the tool.
You must unlock this switch before you use the tool. If you leave it locked, the laser cannot level itself. Slide the switch to the unlock position. You will see the laser turn on. It might bounce a little bit. That is normal. It is just finding its balance.
Understanding the Self-Leveling Feature
Bosch lasers are famous for their self-leveling feature. This means the tool does the hard work for you.
When you unlock the pendulum, the internal parts float. They use gravity to find a perfectly straight line. But there is a catch. The tool must sit on a surface that is mostly flat. If the tool tips too far, the laser line will blink. The blinking line tells you it cannot find a level. You just need to adjust the tool until the blinking stops.
| Laser Status | What It Means | What You Should Do |
| Solid Line | The tool is perfectly level. | Start your project. |
| Blinking Line | The tool is tilted too far. | Move the tool to a flatter spot. |
Setting Up Your Laser for the First Time
Where you put the tool matters a lot. You have a few good choices for setting it up. I have tried all of them.
Using a Tripod
A tripod is my favorite way to set up the laser. It gives you full control. You can change the height in seconds.
You just screw the laser onto the top of the tripod. Most Bosch models fit standard camera tripods. You do not need to buy a special heavy-duty one. I use a cheap camera tripod from my closet. It works great for hanging pictures and painting stripes on walls.
Using the Magnetic Mount
Many Bosch lasers come with a magnetic mount. This little bracket is amazing. It has strong magnets on the back.
You can stick this mount to any metal surface. I use it on metal door frames. I also stick it to corner beads on drywall. If you do not have metal around, the mount usually has a small hole. You can put a screw in the wall and hang the mount on it.
| Mounting Option | Best Used For | My Honest Thought |
| Tripod | Open rooms, painting, tall walls | Very easy to adjust height quickly. |
| Magnetic Mount | Metal studs, drop ceilings, door frames | Super strong hold, but needs metal. |
| Screw Hole | Drywall, wood studs | Leaves a small hole, but works anywhere. |
Step-by-Step: How to Use the Bosch Laser Level for Projects
Now that the tool is on, let us talk about real work. This is where the magic happens. I want to show you how I use it for daily tasks.
Hanging Picture Frames Perfectly Straight
Hanging a gallery wall used to take me hours. I used to measure, mark, and pray. Now, it takes minutes.
First, I set the laser on a tripod. I point it at the wall. I unlock the pendulum to get a level cross-line. The horizontal line shows me exactly where the top of my frames should go. The vertical line helps me space them out. I just line up my frames with the glowing red or green light. It is that simple.
Installing Kitchen Cabinets
Cabinets must be perfect. If they are slightly off, your counters will not fit. A laser level is a must for this job.
I set the laser line to the exact height of the bottom cabinets. I draw a light pencil mark along the red line. Then, I screw my ledger board into the wall right on that mark. The laser stays on the whole time. It acts as a guide while I lift the cabinets into place. Family Handyman has a great guide on this if you want to see the wood framing part in detail.
| Project Type | Laser Mode Needed | Why It Helps |
| Picture Frames | Cross-line mode | Keeps rows straight and centered. |
| Floor Tiles | Single straight line | Keeps grout lines perfectly straight. |
| Stairs/Handrails | Manual locked mode | Gives a straight angled line. |
What the Different Buttons and Modes Mean
You do not need to be a tech expert to use this tool. But you should know what the buttons do. I ignored the buttons for a month. I missed out on some great features.
Cross-Line vs. Single Line Mode
When you turn the tool on, you usually get a cross. This is a horizontal line and a vertical line crossing each other.
Sometimes, a cross is too much. It can be distracting. Most Bosch tools have a button on top to change this. Press the button once. You might get just a horizontal line. Press it again. You get just a vertical line. I use the single vertical line when I hang wallpaper. It keeps things simple.
Manual Mode (When You Need an Angle)
What if you need a straight line, but not a level line? Think about painting a diagonal stripe on a wall. Or hanging photos up a staircase.
This is where manual mode comes in. Keep the pendulum locked. Press and hold the power button on top. The laser will turn on. But it will not try to level itself. It will blink slowly to remind you it is locked. Now, you can tilt the tool to any angle you want. I used this trick to paint a cool chevron pattern in my hallway.
| Button Press | What Happens | Best Use Case |
| Default Turn On | Auto-levels, cross lines | General wall tasks. |
| Top Button (1 click) | Auto-levels, horizontal only | Leveling floors or shelves. |
| Hold Top Button | Manual mode (locked) | Angled lines for stairs or paint. |
Common Mistakes People Make with Bosch Lasers
I have made plenty of mistakes with my tool. I want to save you the headache. These are the things nobody tells you in the manual.
Working in Bright Sunlight
Lasers are bright indoors. But the sun is much brighter. If you take your laser outside on a sunny day, you will not see the line.
I tried to build a deck at noon. I could not see the red line at all. It was very frustrating. If you must work outside, work at dusk. Or buy a laser receiver. A receiver beeps when it finds the invisible line. You can also use a green laser. Green lines are much easier to see than red lines. Bob Vila recommends green lasers for bright rooms.
Ignoring the Blinking Line
I mentioned this before, but it is super important. If the line blinks fast, stop what you are doing.
Do not mark the wall. Do not drill a hole. The blinking means the tool is not level. I once hung a shelf while the line was blinking. I thought it looked fine. It was terribly crooked. Always fix the tool placement until the line turns solid.
| The Problem | Why It Happens | The Easy Fix |
| Cannot see the line | Room is too bright | Dim the lights or work at dusk. |
| Line blinks fast | Tool is tilted too much | Put the tool on a flatter surface. |
| Line blinks slow | Tool is in manual mode | Unlock the pendulum switch. |
Advanced Tips I Wish I Knew Sooner
After using my Bosch laser for two years, I picked up some great habits. These little tricks make the tool even better.
Using a Laser Target Plate
A target plate is a small plastic card. It comes with some laser kits. I threw mine in a drawer at first. That was a mistake.
The plate has a special reflective surface. It makes the laser line glow very bright. If you work in a big room, the line can get thin and hard to see. Hold the target plate against the wall. The line will light up on the card. This makes it so easy to make your pencil marks exactly where they need to be.
Saving Battery Life on Long Days
Laser levels eat batteries. The bright light takes a lot of power. If you leave it on all day, it will die.
I learned to turn the tool off the second I make my mark. I do not leave it running while I drill holes. Just turn it off, do your work, and turn it back on to check. Always keep spare AA batteries in the case. Nothing is worse than a dead tool in the middle of a job. Professional sites like Pro Tool Reviews always suggest carrying backup batteries for laser tools.
Final Thoughts
Learning how to use the Bosch laser level is not hard at all. It just takes a little practice. The first time you use it, take your time. Unlock the pendulum. Set it on a flat spot. Let the tool do the heavy lifting for you.
My biggest advice is to trust the tool. Once the line is solid, it is perfectly level. Stop second-guessing it with a cheap bubble level. This tool will change how you do home projects. Your shelves will be straight. Your pictures will look great. You will feel like a real pro in your own home.
5 Frequently Asked Questions
1. Why is my Bosch laser level line blinking?
Your tool is blinking because it is tilted too far. The self-leveling feature cannot work. Place the tool on a flatter surface until the blinking stops.
2. Can I use a Bosch laser level outside?
Yes, but it is hard to see the line in bright sunlight. Try to work early in the morning or late in the evening. You can also buy a laser receiver to help.
3. Do I need a tripod to use a laser level?
No, you do not strictly need one. You can place the tool on a table, a ladder, or use the magnetic wall mount. However, a tripod makes adjusting the height much easier.
4. What does the lock switch on the side do?
The lock switch secures the internal pendulum. You must lock it when you move or store the tool to prevent damage. You must unlock it to use the self-leveling feature.
5. Are green laser levels better than red ones?
Green lasers appear much brighter to the human eye. They are easier to see in bright rooms or over long distances. Red lasers are cheaper and work perfectly well for most indoor home projects.