
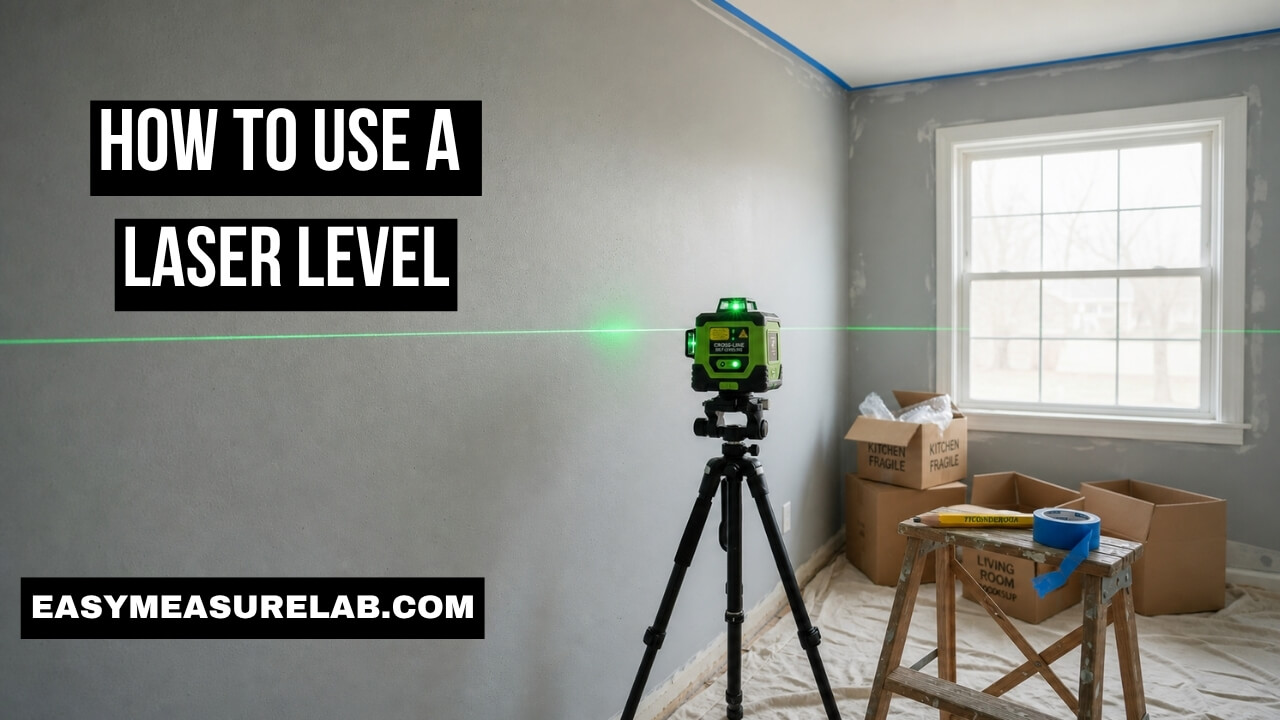
I used to hate hanging long shelves. I always made them crooked. I would use an old bubble tool. I would draw a pencil mark. I would drill my holes. I would step back and look. The shelf was never straight. It drove me crazy. I wasted so much time. I ruined so much drywall.
Then, I bought a new tool. I took it out of the box. I figured out how to use a laser level. It changed my whole DIY life. A bright line lit up my wall. It was perfectly straight. There was no math. There was no guessing. I just followed the light. In this guide, I will show you exactly how to do the same thing. You will save time. You will save your walls. You will love your next project.
Why Learning How to Use a Laser Level Changed Everything
I did not want to buy one at first. I thought it was a pro tool. I thought it would be too hard. I was wrong.
These tools are very easy. They do the hard work for you. You just set them down. You turn them on. They shoot a crisp beam. The beam stays level. Even if your floor is slanted, the line stays straight. It feels like magic. I wish I had bought one ten years ago. It makes every job fast.
My biggest mistake with bubble tools
Bubble tools are fine for small things. They work for a single picture frame. But they fail on big walls. If you move the tool, you lose your line. A laser fixes this. The line stays on the wall. Your hands stay free. You can drill right on the light.
| Old Tool | New Laser Tool | My Verdict |
| Handheld bubble | Hands-free beam | Laser wins easily |
| Short reach | Reaches across rooms | Laser is better |
| Hard to read | Bright and clear | Laser is safer |
The Basics of How to Use a Laser Level
Before you turn it on, you need to know the parts. It is a simple machine. But you must set it up right. If you rush, you will make a mistake. I did this on my first try.
First, look at the bottom. You will see a screw hole. This is for a mount. Next, find the power switch. It usually slides on and off. Finally, look at the glass window. This is where the light comes out. Never look right into this glass. It can hurt your eyes.
Finding the right spot in your room
You must put the unit in a good place. Do not put it where you will bump it. If you bump it, the line moves. Put it in the center of the room. Put it on a stable floor. Keep kids and pets away.
Picking the best mount
You cannot just hold the tool in your hand. It must sit still. You have a few choices. I prefer a tripod. It is the most stable.
| Mount Type | Best Used For | My Thought |
| Tall Tripod | Open rooms and floors | A must-have item |
| Wall Clamp | Drop ceilings | Great for high spots |
| Magnetic Base | Metal studs | Very strong hold |
Step-by-Step: How to Use a Laser Level for Perfect Lines
Now we get to the fun part. This is how you actually use it. Follow these steps. Do not skip any. I skipped step two once. My line was tilted. I had to start over.
Step 1: Mount the tool. Screw it onto your tripod. Make sure it is tight. Do not strip the threads.
Step 2: Place it flat. Look at the tripod legs. Spread them wide. Make sure the base is mostly flat. The tool can fix a small tilt. It cannot fix a huge tilt.
Step 3: Turn it on. Slide the power switch. You will hear a click. The light will shoot out.
Step 4: Let it settle. The line will bounce for a second. Wait for it to stop. This is the auto-leveling magic.
Step 5: Mark your wall. Take a pencil. Make small marks on the light path. Now you can drill.
The pros at Family Handyman suggest using painter’s tape on the wall first. Then you mark the tape. It keeps your wall clean. I use this trick every time.
What to do if the light flashes
Sometimes, the line will blink. It will flash on and off. Do not panic. It is not broken. This means the tool is tilted too much. It is telling you it cannot fix the tilt.
| Tool Action | What It Means | How To Fix It |
| Steady light | Level is perfect | Start working |
| Blinking light | Tilt is too steep | Flatten the tripod |
| Dim light | Batteries are dead | Swap batteries out |
Green vs. Red Beams: A Lesson I Learned the Hard Way
When I bought my first tool, I bought a red one. It was cheap. I thought color did not matter. I took it outside. I could not see the line. The sun washed it out. I was so mad.
Green light is much brighter to the human eye. It costs a bit more. But it is worth every penny. If you work in bright rooms, get green. If you work outside, get green.
Why green beats red
I read a great article on Pro Tool Reviews about this. They explain that green lasers appear four times brighter to us. I believe it.
| Beam Color | Brightness | Best Place to Use |
| Red Beam | Standard | Dark rooms, basements |
| Green Beam | Very High | Sunny rooms, outdoors |
How to Use a Laser Level for Real Projects
Theory is nice. But real projects are messy. Let me share how I use this tool in my house. These are real jobs I did. I made mistakes. I learned tricks.
You can use it for almost anything. It changes how you work. You will feel like a pro.
Hanging a gallery wall
Picture walls are hard. You want all the frames to match. Before, I used string and tape. It took hours.
Now, I use my cross-line mode. The tool shoots a cross on the wall. I get a perfect up-and-down line. I get a perfect left-to-right line. I line up the corners of my frames with the cross. The whole wall takes ten minutes. It is so easy.
Installing heavy kitchen cabinets
This is a big job. Cabinets must be perfectly straight. If they lean, your plates will slide.
I set my tripod in the kitchen center. I turn on the horizontal line. I mark the wall where the cabinet base will go. I screw a temporary wood board on that line. Then, I rest the heavy cabinets on the board. The laser does all the math. My back does less work.
| Project | Best Feature to Use | My Top Tip |
| Wall Pictures | Cross-line mode | Tape the wall first |
| Floor Tile | Square floor mode | Work from the center |
| Fence Posts | Pulse detector mode | Work on a cloudy day |
The Pendulum Lock: Do Not Break Your Tool
This is the most important part of this guide. Inside the tool, a heavy part hangs on a string. It is called a pendulum. This is how the tool finds gravity. This is how it levels itself.
It is very fragile. If you shake the tool, the pendulum bangs around. It will break. Your lines will never be straight again.
How to protect your investment
Every good tool has a lock switch. When you turn the power off, you must lock the pendulum. It clamps the fragile part down. Then you can put it in your truck.
I broke my first one this way. I tossed it in my bag. The pendulum snapped. I had to throw it in the trash. The experts at Bob Vila warn about this all the time. Always use the lock switch.
Taking Your Tool Outside: The Detector Trick
Using this tool outdoors is hard. The sun is very bright. The sun will hide your beam. Even a green beam gets lost in the sun.
I tried to build a fence. I could not see my green line. I was frustrated. Then I learned about laser detectors.
Catching the invisible light
A detector is a small plastic box. You put it on a stick. You put your tool in “pulse mode.” The line flashes very fast. You cannot see it. But the box can feel it.
You slide the box up the stick. When it hits the invisible beam, it beeps. It beeps fast when you get close. It beeps solid when you are dead center. It is amazing. I built a huge fence this way. The posts are perfectly level.
Overcoming Common First-Timer Problems
When you learn how to use a laser level, you will mess up. I did. Everyone does. That is okay.
Here are things that will confuse you at first. I want to save you the headache.
Shadows in the room
The light beam travels in a straight path. If an object is in the way, it makes a shadow. The line will stop.
I tried to line up my whole living room. But a tall lamp blocked the light. Half my wall had no line. I had to move the lamp. Always clear the room first. Move chairs. Move boxes. Give the light a clear path.
Thick lines over long distances
As the light gets far away, it gets wider. At five feet, the line is very thin. At fifty feet, the line gets fuzzy and thick.
If the line is thick, where do you draw your mark? Always mark the exact center of the light. Do not mark the top edge. Do not mark the bottom edge. Mark the middle. This keeps your work exact. This Old House has a great video showing this exact tip.
Final Thoughts
Learning how to use a laser level is a game changer. It takes away the stress of home projects. You stop guessing. You stop doing math. You just follow the bright light.
I highly suggest buying a green cross-line model. Buy a good tripod. Always lock the pendulum when you are done. If you follow these simple steps, your walls will look amazing. Your shelves will be straight. You will be proud of your work. Get out there and start building.
5 SEO-Friendly FAQs
What is the best way to learn how to use a laser level?
The best way is to start small. Put it on a table. Turn it on. Watch how the line settles. Try hanging one picture frame first.
Why is my laser level line blinking?
A blinking line means the tool is tilted too far. It cannot auto-level. You need to put it on a flatter surface. Adjust your tripod legs until the flashing stops.
Can I use a red laser level outside?
It is very hard. The sun makes the red light invisible. If you must work outside, wait for sunset. Otherwise, you need to buy a laser detector device.
How do I care for my laser level tool?
Always lock the pendulum switch before you move it. Keep it in a hard padded case. Remove the batteries if you store it for a long time. Keep the glass window clean.
Do I really need a tripod for my laser level?
Yes. A tripod gives you total control. It lets you change the exact height of the line. Without one, you have to stack books on tables to get the right height.