
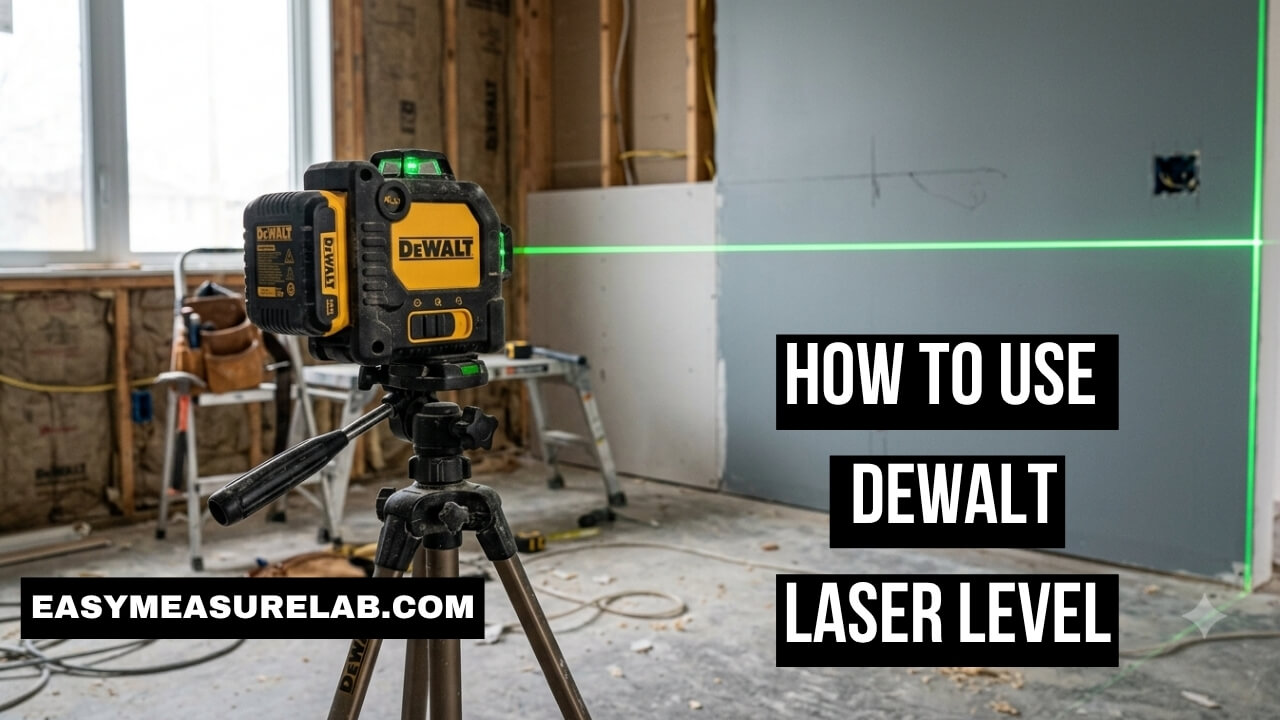
I used to hate hanging things on walls. My old bubble level drove me crazy. I would draw pencil lines. I would step back. Things still looked crooked. It was frustrating. Then, I bought a laser level. It changed everything. If you want to know how to use DeWalt laser level tools, you are in the right place.
I have used these tools for years. I have built decks. I have hung kitchen cabinets. I have tiled floors. At first, I made silly mistakes. Now, I know the tricks. In this guide, I will share exactly what I know. You will learn how to use your tool the right way. No more crooked shelves. No more guessing. Let us get started.
Getting to Know Your Tool First
You just opened the box. The tool looks rugged. It feels heavy and strong. But how does it work? Do not worry. It is simpler than it looks.
Before we turn it on, we need to look at the parts. Knowing your tool is the first step. You cannot skip this.
What Is in the Box?
When you open your DeWalt kit, you will see a few things. You have the laser unit itself. You likely have a battery. You might have a charger. You might also find a hard plastic case. Some kits come with a magnetic bracket. Some even include a target card.
Keep all these parts safe. The hard case is very important. These lasers are tough. But they are also precise tools. Dropping them on concrete is a bad idea. Always put it back in the case.
The Magic of Self-Leveling
This is the best part. You do not have to make the laser perfectly straight by hand. The tool does the hard work. Inside the plastic shell, there is a pendulum. The laser diode hangs from this pendulum.
Gravity pulls the pendulum down. This makes the laser beam perfectly level. It is like magic. As long as the tool is resting on a flat surface, the beam is straight. You just turn it on. The tool handles the rest.
Step 1: How to Set Up Your DeWalt Laser Level
Setting up is easy. But you must do it right. A bad setup means bad results. I learned this the hard way.
I used to rush. I would just slap the laser on a table. My lines were off. Take your time here.
Finding the Right Spot
You need a solid base. Look for a flat surface. A table works well. A ladder step can work too. The spot must not wobble. If the floor shakes, the laser shakes.
I like to place my laser near the middle of the room. This gives me a good view of all the walls. Make sure nothing blocks the beam. Keep it away from high traffic. You do not want someone kicking it.
Mounting Options I Actually Use
You do not always have a table handy. That is fine. DeWalt gives you options.
The bottom of the tool has threaded holes. These fit on standard tripods. A tripod is my favorite way to work. It lets me change the height easily. You can also use the magnetic bracket. I slap this bracket onto metal door frames. It holds very tight.
| Mount Type | Best Used For | My Honest Rating |
| Camera Tripod | Picture frames, small shelves | Great for beginners |
| Heavy Duty Tripod | Decks, floors, big jobs | Very stable |
| Magnetic Bracket | Metal studs, door frames | Super fast to set up |
Understanding the Pendulum Lock Feature
This is a huge topic. Many people get confused here. Your DeWalt laser has a lock switch. It is usually on the side.
You must understand this switch. If you use it wrong, your lines will be crooked. Let me explain how it works.
When to Let It Swing Free
Most of the time, you want the lock off. This is the “unlocked” position. This lets the pendulum swing. This is how the tool self-levels.
Slide the switch to the unlock position. You will see the beam flash a few times. Then it will settle. It is now perfectly level. Use this for 90% of your jobs. Hanging cabinets? Unlock it. Tiling a wall? Unlock it.
When to Lock It
Why would you lock it? Sometimes you want a straight line that is not level. Think about painting a stripe down a staircase. You want a slanted line.
If you lock the pendulum, the laser stays fixed. You can tilt the whole tool. The beam will tilt with it. The line stays perfectly straight, but it is no longer level to the earth. The tool might flash slowly to warn you. This is normal. It just reminds you that the line is not level.
The Green Beam vs. Red Beam Debate
You might wonder about the color. Lasers come in red or green. I have owned both. There is a clear winner in my book.
When you learn how to use DeWalt laser level tools, color matters. It changes how you work.
Why I Switched to Green
My first laser was red. It worked great inside. But in bright rooms, it was hard to see. Outside, it was useless. The sun just washed it out.
Then I bought a green DeWalt laser. Wow. The difference is huge. Green light is much brighter to the human eye. I can see it clearly across a huge, sunny room. It costs a bit more. But it is worth every penny.
| Laser Color | Visibility | Best Use Case |
| Red Beam | Good in dim light | Small indoor jobs, tight budgets |
| Green Beam | Excellent, very bright | Big rooms, bright areas, outdoors |
Step 2: How to Use DeWalt Laser Level for Basic Jobs
Let us get to work. You know how the tool works now. It is time to use it.
Start small. Do not build a house on your first day. Practice on simple tasks. This builds your confidence.
Hanging Picture Frames Perfectly
This is my favorite trick. No more measuring tapes for simple frames.
Set your laser on a tripod. Turn it on. Unlock the pendulum. Aim the horizontal cross line at your wall. Adjust the tripod height. Move it up until the beam is exactly where you want the top of your frames. Now, just line up the top of your pictures with the beam. Drive your nails on the line. Every frame will be perfect.
Installing Kitchen Cabinets
Cabinets must be level. If they are not, your countertops will crack. Your eggs will roll off the counter.
Place the laser in the center of the kitchen. Project the horizontal line across all the walls. Mark the high point of your floor. Measure up from there. Set your laser to that exact height. Now you have a perfectly level guide line around the whole room. Screw your cabinets to the wall along this line. It saves hours of work. If you need more tips on hanging cabinets, check out this great guide from Family Handyman.
How to Use DeWalt Laser Level for Advanced Projects
Once you master the basics, you can do more. These tools are built for heavy work.
I use my laser for big renovations now. It replaces long string lines. It replaces massive bubble levels. It makes solo work possible.
Laying Floor Tiles Straight
Crooked tiles look awful. A laser fixes this. Set your laser on the floor. Use a model that shoots a line across the ground.
Turn on the crosshair mode. This gives you a perfect 90-degree angle. Line this up with your starting wall. Now you have a perfect grid on the floor. Lay your tiles right against the bright green lines. You will never have a crooked grout line again.
Building a Deck or Fence
Outdoor work is tricky. The ground is never flat. A laser makes it easy.
I use my laser to set deck posts. I wait until the sun goes down a bit. The green beam shows up better in the shade. I shoot a level line across all my wooden posts. Then, I take my saw. I cut every post exactly on the laser line. Now all my deck posts are the exact same height. You can find more deep leveling tips at This Old House.
Mistakes I Made (So You Do Not Have To)
I was not always good at this. I messed up a lot. I want to share my failures.
Learning from my mistakes will save you time. It will also save your materials. Wood and tile are expensive right now.
Trusting the Tripod Too Much
Tripods are great. But they can move. I once bumped a tripod with my foot. I did not notice. I kept working. Half my wall was ruined.
Always double-check your lines. If you walk away for lunch, check the line when you get back. Make sure the laser is still hitting your reference marks. Small bumps cause big problems.
Forgetting the Pendulum Lock
This is the most common mistake. I did this twice. I left the lock on. I set up the tool. I assumed the line was level.
It was not. The tool was slightly tilted. Because the lock was on, the tool did not self-level. My shelf ended up looking like a slide. Always check that switch. If you want a level line, the lock must be off.
| Mistake Made | Why It Happened | How I Fix It Now |
| Crooked lines | Left pendulum locked | Always check switch before working |
| Shifted beam | Kicked the tripod | Mark a reference point on the wall |
| Dead tool | Left switch on in case | Turn fully off to lock and save battery |
Troubleshooting Common DeWalt Laser Issues
Sometimes things go wrong. Do not panic. These tools are smart. They tell you when there is a problem.
You just need to know how to read the signs. Here are the most common issues I have seen.
The Laser Keeps Flashing
You turn it on. The beam blinks on and off. It will not stop. What is wrong?
This means the tool is out of level. The surface it is sitting on is too steep. The internal pendulum cannot swing far enough to fix it. Move the tool to a flatter spot. Adjust your tripod legs. Once the tool is mostly flat, the flashing will stop. The beam will stay solid.
The Beam Is Too Dim
You cannot see the line. This happens outdoors mostly. But it can happen inside too.
First, check your battery. A low battery makes a weak beam. Second, clean the glass. Dust on the laser window scatters the light. Wipe it with a soft cloth. If you are outside in the sun, you might need a laser detector. This is a special tool that “hears” the laser even when you cannot see it.
| Common Issue | Likely Cause | Easy Solution |
| Beam flashes fast | Surface is too tilted | Move to a flatter surface |
| Beam flashes slow | Pendulum is locked | This is normal for angled lines |
| Line is very dim | Low battery or dirty glass | Swap battery and wipe the lens |
Battery Life and Power Tips
Power is everything. A dead laser is just a heavy paperweight.
DeWalt makes great batteries. But lasers eat power. The green beams use more power than the red ones. You need a power strategy.
Managing the 12V and 20V Systems
Many new DeWalt lasers use the 12V Max or 20V Max batteries. This is amazing. You can use the same battery from your drill.
I always keep a spare battery on the charger. When my laser dies, I swap it out in ten seconds. If you use AA batteries, buy good ones. Cheap batteries will leak and ruin your expensive tool. Take the AA batteries out if you store the tool for a long time.
Must-Have Accessories I Recommend
The laser is great alone. But a few add-ons make it perfect.
I have bought a lot of junk over the years. I only keep the things that actually work. Here is what you really need.
The Target Card Trick
Some kits come with a small plastic card. It has a magnet on it. It looks cheap. Do not throw it away.
This is a target card. It reflects the laser light. If you are working in a bright room, stick this card where you need the line. The green beam hits the card and glows very brightly. It makes finding the line much easier.
Upgrading Your Tripod
The cheap tripod in your closet might work at first. But it will annoy you.
Cheap tripods wobble. The height crank is jerky. When you try to move the laser up a tiny bit, it jumps an inch. Buy a good contractor tripod. Or, buy a laser pole. A laser pole wedges between the floor and ceiling. You clamp the laser to it. It is incredibly stable. Websites like Pro Tool Reviews have great gear guides.
| Accessory | Why You Need It | Cost Range |
| Target Card | Makes beam easier to see | Usually free in kit |
| Laser Pole | Better than a tripod indoors | Medium to High |
| Hard Case | Protects the fragile pendulum | Essential |
Understanding Cross-Line vs. 360-Degree Models
Not all DeWalt lasers are the same. You need to know what you bought.
Some shoot a simple cross. Others shoot a line all the way around the room. I have used both types. They do different things.
The Basic Cross-Line Laser
This is the standard model. It shoots one vertical line. It shoots one horizontal line. They cross in the middle.
This is perfect for basic tasks. Hanging pictures. Tiling one wall. Aligning a single doorway. It is cheaper and smaller. But it only points in one direction. You have to physically turn the tool to move the line around the room.
The 360-Degree Laser
This is the big boss of lasers. It has special prisms. It throws the laser beam 360 degrees around the room.
I love my 360 laser. I set it up once in the center of the room. It draws a level line on all four walls at the same time. I can install a chair rail around the whole dining room without ever touching the tool. If you do big room projects, spend the extra cash on a 360 model.
Maintaining and Storing Your Tool
Your laser level is a precision instrument. Treat it like one.
If you treat it like a cheap hammer, it will break. The internal parts are delicate. A little care goes a long way.
Cleaning the Tool Right
Construction sites are dirty. Homes are dusty. Dust is the enemy of lasers.
When dust gets on the output window, the laser line gets fuzzy. It looks fat and blurry. You cannot do precise work with a fat line. Keep a microfiber cloth in your tool case. Wipe the glass gently after every job. Never use harsh chemicals. A dry cloth is best.
Storing It Safely
Never just toss the laser in a tool bag. That is a recipe for disaster.
Always lock the pendulum before you put it away. When you slide the power switch to OFF, it usually locks the pendulum automatically. This stops the internal parts from bouncing around while you drive. Put the tool in its hard plastic case. Keep it away from extreme heat. Do not leave it baking in your truck all summer.
Checking the Calibration
Is your laser still accurate? You should check it sometimes.
Dropping the tool can knock it out of whack. Even with the pendulum lock, hard impacts cause damage. I check my laser every six months. It is easy to do.
The Plumb Bob Test
This is an old-school trick. Hang a string from the ceiling. Tie a heavy weight to the bottom. Let it stop swinging. This is a perfect vertical line caused by gravity.
Turn on your laser. Shine the vertical beam on the string. The laser line should perfectly match the string from top to bottom. If it tilts away, your laser needs to be sent in for repair. Do not try to fix the insides yourself. Leave that to the DeWalt experts.
Final Thoughts
Learning how to use DeWalt laser level tools will make your life easier. It really is a game changer for DIY projects. The days of second-guessing your bubble level are over. You will work faster and your results will look much more professional.
My biggest piece of advice is to respect the pendulum lock. Let it swing free for level work, and lock it tight when you store the tool. Take your time setting up your tripod, keep the lenses clean, and always double-check your lines. Once you get the hang of it, you will wonder how you ever built anything without it.
Frequently Asked Questions
How do I turn on the self-leveling feature on my DeWalt laser?
Place the laser on a flat, stable surface. Slide the power switch or pendulum lock switch to the “Unlocked” position. The tool will turn on, flash briefly, and the pendulum will settle into a perfectly level position automatically.
Why is my DeWalt laser level blinking constantly?
If the beam blinks fast and will not stop, the tool is resting on a surface that is too tilted. The internal pendulum cannot compensate. Move the tool to a flatter surface until the blinking stops.
Can I use a green DeWalt laser level outside in the sun?
Green lasers are much brighter than red ones, but direct sunlight will still wash them out over long distances. For outdoor work, work in the shade, work at dusk, or purchase a DeWalt laser detector tool to pick up the beam.
What does the lock symbol mean on my laser level?
The lock symbol means the internal pendulum is clamped in place. You use this setting when you want to transport the tool safely, or when you need to tilt the laser to project a straight, slanted line (like for stairs) that is not level to the ground.
How do I make the laser beam brighter?
Ensure your battery is fully charged, as low power dims the laser. Clean the glass window with a microfiber cloth. If it is still hard to see, use a magnetic target card or wear red/green laser enhancement glasses to help your eyes pick up the light.