
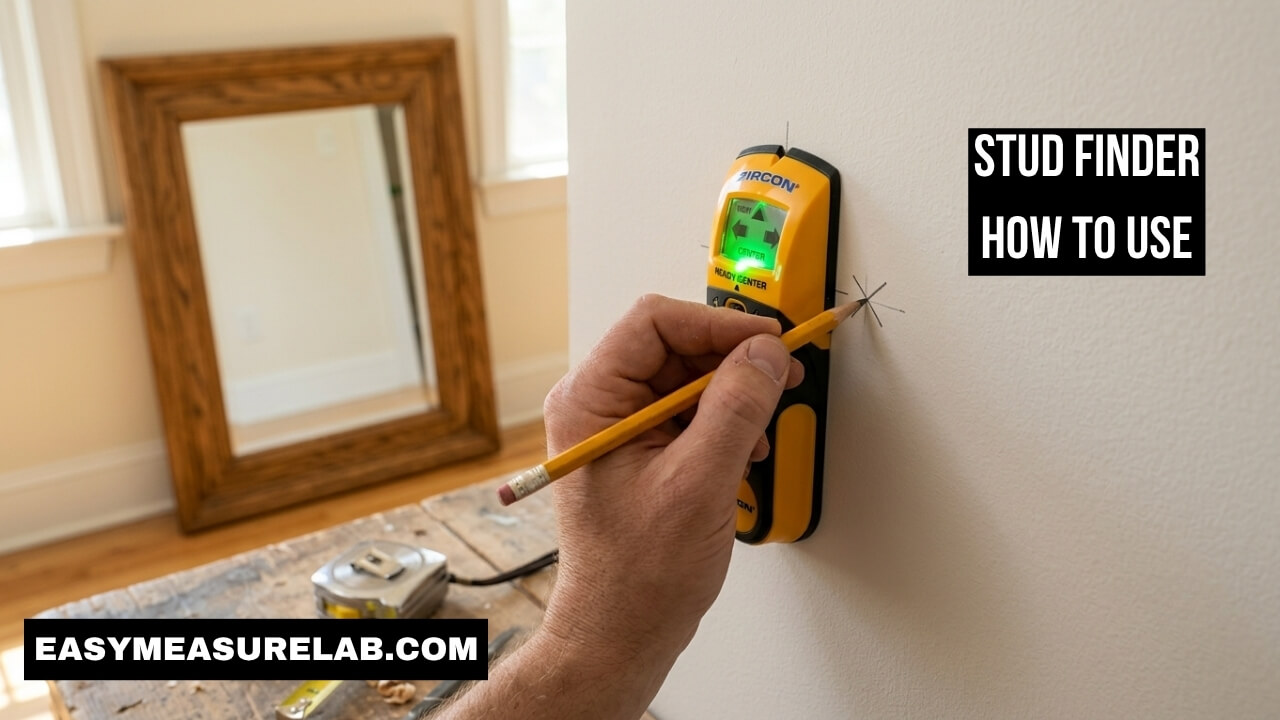
I bought a huge mirror last year. It had a thick oak frame. It weighed forty pounds. I wanted to hang it in my hallway. I bought a tool to find the wood in my wall. I took it out of the box. I slapped it on the wall. I pressed the button. I drilled a big hole. I missed the wood entirely. My drill bit hit empty space. I made a huge mess. I felt very silly.
That is exactly why a good stud finder how to use guide is so important. Finding wood behind drywall seems hard at first. The tool beeps wildly. Red lights flash at random times. It can feel very confusing for a beginner. But I finally figured it out. You just need to follow a few simple steps. I will show you exactly what to do. You will learn how to find wood easily. You will hang your heavy mirror safely. Let us dive in.
Step 1: Pick the Right Tool for the Job
You must know your tool first. Not all tools do the same job. You have two main choices at the hardware store. One tool uses strong magnets. The other tool uses internal sensors and batteries.
Magnetic finders do not actually find wood. They find metal screws. Builders use metal screws to hold the drywall to the wood beams. Electronic finders look for dense areas. They sense the actual wood beams behind the paint.
| Feature | Magnetic Tool | Electronic Tool |
| What it detects | Metal screws and nails | Wood boards and dense spots |
| Power source | None (uses raw magnets) | 9V or AA batteries |
| Best used for | Plaster walls or thick walls | Standard home drywall |
I prefer electronic tools for most home jobs. They give you a much better idea of the whole wood board. They let you find the exact edges. But you need standard drywall for them to work well.
Step 2: Fix Your Battery Power First
This sounds very basic. I know it does. But it is a huge deal. A weak battery is your worst enemy. Electronic sensors need full power to work right. If the power drops even a little bit, the tool lies to you.
I once spent an hour scanning my living room wall. The tool beeped in random spots. I was so confused. I almost gave up on hanging my mirror. Then, I swapped the old 9-volt battery. I put in a brand new one. Suddenly, the tool worked perfectly. It found the wood instantly.
Never Trust Old Batteries
Do not use a battery from your junk drawer. Buy a fresh pack. Keep a fresh battery inside the tool. Take the battery out when you store the tool in your cold garage. Extreme heat or cold drains the battery very fast.
A fresh battery makes the sensor very sharp. It reads deep into the wall. It senses the density changes clearly. If your tool flashes a low battery light, stop working. Change it right away. Do not risk dropping a heavy glass mirror because of a cheap battery.
| Battery State | Tool Behavior | Your Action |
| Brand new | Reads deep and accurate | Start scanning your wall |
| Half dead | Gives false beeps | Replace it immediately |
| Completely dead | Will not turn on | Buy a fresh pack |
Step 3: Master the Calibration Process
This is where I made my biggest mistake early on. I used to just press the power button and slide. You cannot do that. You have to set the tool up first. The tool needs to learn your specific wall.
Every wall is a little different. Paint has thickness. Drywall has thickness. The tool needs a baseline reading of the empty space. You give it this baseline by calibrating it. If you skip this, the tool gets totally confused.
How to Calibrate Correctly
Place the tool flat on the wall. Do not put it near a light switch. Hold it completely still. Press the scan button on the side. Keep holding the button down.
Wait for a single beep. Wait for a green ready light. Now the tool knows what an empty wall feels like. If you start over a piece of wood by accident, it will flash a red error light. Just move it over a few inches and try again.
| Problem | Likely Cause | Simple Solution |
| Tool beeps instantly everywhere | You skipped calibration | Hold still, press button, wait for beep |
| Flashing red lights on startup | You started over wood | Move the tool 6 inches left and restart |
| Tool loses its reading | You let go of the button | Keep holding the button the whole time |
Step 4: Slide Flat and Slow
Now you are ready to scan. Your tool is calibrated. You are holding the button down. Keep the tool totally flat against the wall. Do not tilt it. Do not lift the bottom edge. All felt pads must touch the wall.
Keep your hand near the bottom grip. This is very important. If you put your hand over the top part, it ruins the sensor. Your hand has water and moisture. The tool will read your wet hand instead of the dry wall.
Watch Your Hand Placement
Slide it slowly. I mean very slowly. Moving too fast causes errors. The sensor needs time to read the wall density. If you drag it like a toy car, it skips over the wood.
Slide it in a straight line. Do not make wavy motions. Move straight from left to right. Keep your pressure even. Do not push too hard. You might dent your drywall. Just apply enough pressure to keep it flat.
Step 5: Find and Mark Both Edges
Slide the tool from left to right. Keep it perfectly straight. Soon, the tool will beep loudly. A red light will shine. This means you found the edge of the wood. This is a great moment.
Grab a sharp pencil. Make a small mark on the wall exactly where the notch is. But wait. Do not drill here. This is just the edge. If you drill the edge, the wood might split. Your heavy mirror could fall down and shatter.
| Action | What Happens | What You Do Next |
| Slide right slowly | Tool beeps and lights up | Mark this spot with a pencil (Left Edge) |
| Move past the beep | Lights go out | Keep moving a few more inches |
| Slide left slowly | Tool beeps and lights up | Mark this spot (Right Edge) |
You need to find the other edge now. Slide past the wood until the lights turn off. Stop there. Do not let go of the button. Slide the tool back from right to left. Soon, it will beep again. Mark this new spot. You now have the right edge.
Step 6: Use Your Marks to Find the Center
You have two pencil marks on your wall now. The solid wood sits right between them. You want to drill your screw directly into the middle. The middle is the absolute strongest part of the beam.
Most framing boards in a house are one and a half inches wide. Your two pencil marks should be exactly that far apart. If they are five inches apart, something is very wrong. You might have found a large pipe instead of a small board.
Measure for Maximum Strength
Look at your two marks. Take a tape measure. Measure the space between them. Find the exact middle point. Make a dark cross mark there. This is your target. This is where you will drill.
This double pass method is a life saver. Learning this stud finder how to use trick saves me every single time. It stops the screw from glancing off the side of the wood. It gives your heavy mirror maximum support.
Step 7: Verify to Avoid Hidden Pipes
Sometimes the tool lies to you. It beeps loud, but there is no wood there. This is called a false positive. It happens a lot in bathrooms. It happens a lot in kitchens too.
Walls hide many secret things. They hide plastic water pipes. They hide metal air ducts. They hide dangerous electrical wires. Your tool senses all of these items. They are much denser than empty space. You must be very careful before you drill.
The Vertical Scan Check
Wood beams run top to bottom. They go straight from the floor up to the ceiling. If you find a good spot, you must test it. Move your tool straight up a foot. Scan again. Move it down a foot. Scan again.
If the spot goes away, it is not a wood beam. It might be a pipe crossing the wall side to side. Also, look at your lower walls. Are there electrical outlets nearby? Be extra careful around outlets. Power wires run straight up from them.
| Symptom | Probable Cause | How to Check |
| Beep is 4 inches wide | Air duct or drain pipe | Check if it runs side-to-side, not just up-down |
| Beeps near a wall plug | Electrical wire | Avoid drilling directly above or below outlets |
| Marks are 16 inches apart | Normal wood framing | This is perfect. Most boards are 16 inches apart. |
Final Thoughts
Learning a good stud finder how to use routine changed how I do all my home projects. It used to be a very stressful chore. I was always worried about hitting a hidden water pipe. I was worried my expensive mirror would crash to the floor and break.
Now, I feel total confidence. I flatten the tool perfectly. I calibrate it on an empty spot. I mark both edges carefully. I drill perfectly in the exact middle every single time. It is a really great feeling to do it right.
Do not let this simple plastic tool frustrate you. Follow these 7 easy steps. Check your batteries. Take your time. Go slow and steady. You will find that hidden wood easily. Your walls will stay safe, strong, and clean. Good luck hanging your new mirror!
External References
Frequently Asked Questions (FAQs)
Why does my tool beep constantly everywhere?
You likely forgot to calibrate it first. Put the tool flat against the wall. Do not move it. Press the side button and wait for the ready light. If it still beeps wildly, change the battery.
Can I use an electronic finder on an old plaster wall?
Usually, no. Plaster walls have too much dense wood inside. The tool gets very confused. You should use a magnetic finder to locate the metal nails instead.
How do I know if I found a wood beam or a water pipe?
Wood beams run perfectly straight from the floor to the ceiling. Check the spot higher up and lower down. If the reading disappears, it might be a horizontal pipe.
Why did my screw miss the wood when the tool beeped?
You probably drilled exactly where the tool first beeped. That is just the outside edge of the wood. The screw can slip off. You must find both edges and drill in the center.
How far apart should wood beams be in my house?
In most modern homes, they are placed exactly sixteen inches apart. Once you find one beam, measure sixteen inches to the left or right. You will likely find the next one right there.
1 thought on “Stud Finder How to Use: 7 Powerful Tips to Find Wood Fast”