
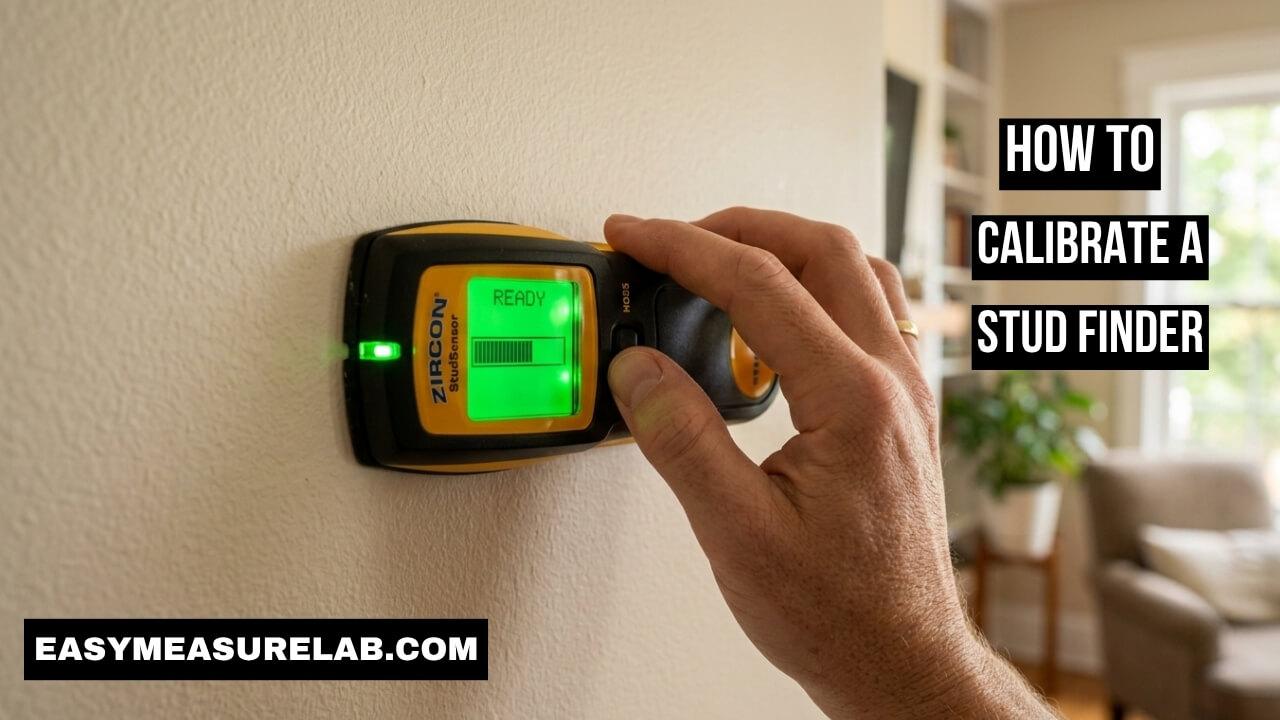
I hate patching drywall. I really do. You buy a fancy scanning tool. You trust it to find wood. You drill a hole. You hit empty space. It makes you so mad.
I learned the hard way that knowing how to calibrate a stud finder changes everything. I used to just press the button in the air. That was a huge mistake. I ruined a nice living room wall once. I patched three holes that day. Drywall mud takes forever to dry.
Why You Must Calibrate First
If you skip this step, your tool just guesses. It scans the wall for density changes. It needs a starting point.
Think of a bathroom scale. You must zero a scale before you weigh something. Your wall scanner needs the same thing. It needs to know what an empty wall looks like. If you do not teach it, it will lie to you.
The Big Mistake I Made
I used to turn the scanner on in my hand. Then I put it on the wall. It beeped everywhere. It beeped at absolutely nothing.
The tool was reading the air density. Then the hard wall confused it. I felt very foolish. You must put it on the wall first. Then you press the button. This is the golden rule.
| Mistake | Better Approach |
| Turn on in the air | Place on wall first |
| Move tool fast | Slide very slowly |
| Lift off the wall | Keep flat on wall |
Step by Step: How to Calibrate a Stud Finder
Here is the exact method I use now. It works every single time. It takes five seconds.
It will save you hours of patching holes. I use this method for every room in my house.
Step 1: Find a Blank Spot
Pick a spot on the drywall. Look for an empty space. Do not start over a light switch.
Do not start near a wall plug. Wires throw off the sensor. Find a plain, flat area. You want to start over just empty drywall.
Step 2: Place It Flat
Put the tool flat against the wall. Hold it still. Do not tilt it up. Do not tilt it down.
Keep your free hand away from the top part. Your hand holds static electricity. Static will ruin the scan. Hold it by the base.
Step 3: Press and Hold
Now, press the side button. Hold it down tightly. Do not let go. Wait for a beep.
Wait for a green light. Every brand acts a bit different. Most give a quick flash. This means it has a baseline. It knows what the empty wall feels like.
Step 4: Slide Slowly
Keep the button held down. Move the tool side to side. Go very slow.
If you move fast, the tool skips. I used to rush. Rushing gives you fake readings. Slide it like a slow turtle. When it beeps, mark the spot.
| Tool Brand | Wait Time |
| Zircon | 1 to 2 seconds |
| Franklin | Instant reading |
| Craftsman | 2 seconds |
Dealing with False Positives
Sometimes the tool goes crazy. It flashes red everywhere. I hate when this happens.
It makes you doubt the tool. It usually means you started over a stud by accident. The tool is now completely backwards.
The Over-the-Stud Problem
If you start the scan right over a piece of wood, the tool gets confused. It thinks the wood is the empty wall.
So, when it hits an empty spot, it thinks it found a stud. It beeps at the empty air. This drove me crazy for years. I finally read a guide on Bob Vila that explained this perfectly.
How to Fix a Confused Scan
If it beeps everywhere, stop. Let go of the button. Move the tool a few inches left or right.
Start the process over. Press the button again. Wait for the beep. This one simple trick fixes most of my scanning problems.
| Symptom | Cause |
| Beeps constantly | Started over a stud |
| Flashing lights | Static electricity |
| No beeps at all | Battery is dead |
Wall Types Change Everything
Standard drywall is very easy to scan. Other walls are very hard. I live in an older home.
I deal with weird walls all the time. You must change your approach for different rooms. A kitchen wall acts different than a bedroom ceiling.
Lath and Plaster Nightmares
Old houses use lath and plaster. It is thick. It has little wood strips everywhere.
A basic scanner will just cry. It will beep non-stop. You need a deep scan mode for this. Or you need a magnetic finder. Electronic scanners hate plaster.
Popcorn and Textured Walls
My old ceiling had a heavy popcorn texture. The tool could not slide at all. It bumped along the rough bumps.
This ruined the calibration. I learned a great trick from a builder. Put a thin piece of cardboard on the wall. Slide the tool over the cardboard. It works perfectly. The tool glides smooth.
| Wall Type | Calibration Trick |
| Smooth drywall | Standard scan |
| Textured wall | Use thin cardboard |
| Lath and plaster | Use deep scan mode |
Battery Power Matters More Than You Think
I chased ghosts for an hour once. My scanner kept giving weird readings. It would find an edge, then lose it.
I got very mad. I thought the tool was broken. I almost threw it in the trash. The pros at Family Handyman always warn about this. It was just a weak battery.
The 9-Volt Rule
Most of these tools use 9-volt batteries. They eat power fast. If the battery is low, the tool lies to you.
It will turn on. It will light up. But it will not scan right. It lacks the power to push the signal into the wall.
Change It Often
I now buy cheap batteries in bulk. I change the battery if the tool acts weird.
Nine times out of ten, a fresh battery fixes everything. Do not trust an old battery from your smoke detector. Use a fresh one. It makes a huge difference.
How to Calibrate a Stud Finder with Deep Scan
Many tools have a deep scan button. It looks through thicker walls.
It scans up to an inch and a half deep. This is great for double drywall. It is also good for fire walls. But you must use it carefully.
When to Use Deep Scan
Only use this if normal mode fails. Deep scan is very sensitive. It finds water pipes.
It finds electrical wires. It will find a plastic drain pipe. It sees everything. This can confuse you. Always try normal mode first.
Calibrating in Deep Mode
You calibrate it the exact same way. Put it flat. Press the button. Wait for the beep.
But you must move even slower. The sensor needs more time to read deep into the wall. If you rush, you will miss the wood. Move slow and steady.
| Mode | Depth | Best For |
| Normal | 3/4 inch | Standard drywall |
| Deep | 1.5 inches | Double drywall |
| Wire Warning | Varies | Finding live AC |
My Favorite Scanning Habits
I have mounted a lot of big TVs. I have hung heavy mirrors. I never want them to fall.
I developed a safe routine. I follow these steps every single time. It keeps my walls safe. It keeps my heavy items on the wall.
Scan from Both Sides
I find the left edge of the wood. I mark it with a pencil. Then I move past it.
I scan back from the right side. I find the right edge. I mark it. The exact center is right between my two marks. You must drill in the center. The edge is not strong enough.
Verify with a Magnet
Wood does not hold magnets. But drywall screws do. Builders use screws to hold the drywall to the wood.
I use a strong little magnet. I sweep it up and down my pencil mark. If it sticks, I know there is a screw. If there is a screw, there is solid wood behind it. This trick never fails. I learned this from This Old House.
| Problem | Solution |
| Cannot find center | Scan from both sides |
| Not sure if it is wood | Sweep with a magnet |
| Afraid of pipes | Check for plumbing vents |
Final Thoughts
Knowing how to calibrate a stud finder saves you time. It saves you from patching ugly holes. It keeps you from feeling foolish. I used to hate hanging things. Now I actually enjoy the process.
Always start flat on the wall. Never start in the air. Move slow. Check your batteries. Follow these simple steps. You will hang that heavy TV safely. You can do this with confidence.
FAQs
1. How do you know if a stud finder is calibrated?
You will hear a short beep or see a green light flash. This happens about one or two seconds after you press and hold the button flat against the wall.
2. Why does my stud finder beep constantly?
You likely started the calibration right over a piece of wood. Let go of the button, move the tool a few inches to the side, and try again.
3. Can I use a stud finder on a textured ceiling?
Yes, but you need a smooth surface. Place a thin piece of cardboard over the bumps. Slide your tool over the cardboard to get a clean reading.
4. Do all stud finders need to be calibrated?
Most electronic models need it. Some newer smart tools do it automatically. Magnetic finders do not need it at all, because they just look for metal screws.
5. What happens if my battery is low?
A low battery will give you false positives. The tool might turn on, but it will flash randomly or fail to find the wood center. Always use a fresh 9-volt battery.