
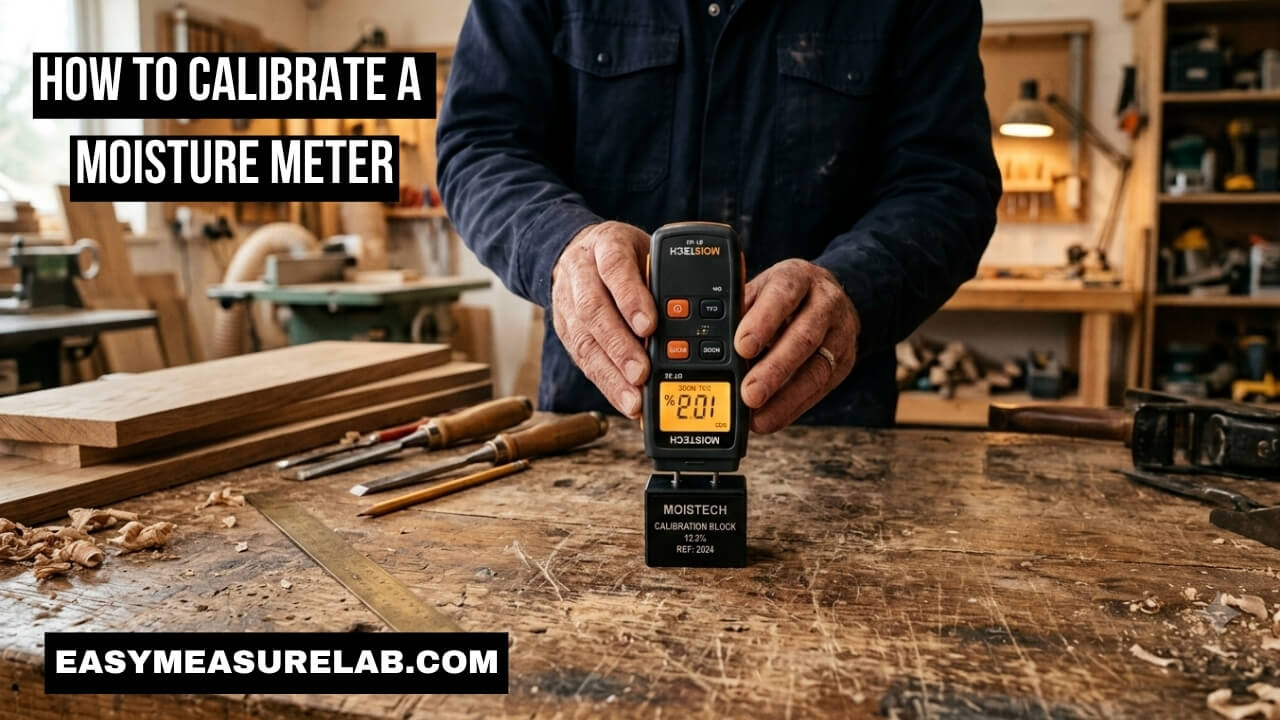
I ruined an entire hardwood floor once. I spent days cutting, fitting, and nailing down beautiful oak boards. A month later, the boards bent. They cupped right in the middle. The wood was too wet. But my tool said the wood was perfectly dry. That was the day I realized I did not know how to calibrate a moisture meter. I just trusted the digital screen blindly.
You buy a tool. You expect it to work. But these meters are sensitive. A small drop can mess them up. A dead battery can change the reading. Changes in room heat can trick the sensors. If you do not check your tool, you are just guessing. I want to show you exactly what I do now. I will show you how to test your tool in five clear steps. You will never ruin a project like I did.
Why I Had to Learn How to Calibrate a Moisture Meter
You might wonder why these tools fail. It happens to all of them. It does not matter if you spend twenty dollars or two hundred dollars. The sensors inside are delicate.
I drop my tools a lot. It happens in a busy shop. Every time a meter hits the floor, the parts inside jar. This small shock shifts the calibration. The pins might get loose. The sensor pad might crack.
Changes in weather also cause big problems. Cold winter air affects the battery. Hot summer days change how the sensors read wet wood. Dust gets inside the case. All these small things add up. They make the tool lie to you.
When you ask, “how do I calibrate my moisture meter?”, you are saving yourself from disaster. Most people never ask. They just use a broken tool for years. Let us fix that right now.
| What Happened to Tool | How It Affects the Reading |
| Dropped on hard floor | Jars internal sensors off zero |
| Left in freezing truck | Drains battery power fast |
| Used in a dusty room | Clogs sensor points with dirt |
Step 1: Use the Built-in Cap Check
Most good pin meters have a built-in check. This is the easiest way to test your tool. You do not need extra gear. I do this every single morning.
Grab your meter right now. Look at the cap. Many pin meters use the plastic cap to test the tool. Inside the cap, you will see two small metal bits. These are testing points. They have a known electrical resistance.
Turn your meter on. Take the cap off. Touch the two pins on the meter to the two metal bits inside the cap. Look at the screen.
The manual will tell you what number you should see. Mine always says 18%. If it says 18%, I am good to go. If it says 12%, I know I have a big problem. The tool is lying.
What to Do If the Cap Test Fails
Sometimes the cap test fails. Do not panic yet. The fix might be simple.
First, clean the pins. Wood sap gets stuck on them. Sap acts like glue. It stops the electricity from flowing. Wipe the pins with rubbing alcohol. Dry them off.
Next, check the metal bits in the cap. Are they rusty? Rust also stops the signal. Scrape them clean. Test again. If it still fails, move on to the next steps.
| Cap Test Reading | What It Actually Means |
| Matches manual exactly | Tool is perfectly accurate |
| Off by 1% or 2% | Normal wear, mostly okay |
| Off by 5% or more | Tool is broken or pins are dirty |
Step 2: Use a Block to Calibrate a Digital Moisture Meter
Sometimes a cap check is not an option. Pinless meters do not have pins or caps. You need something more precise. This is where a calibration block comes in.
A calibration block is a special testing tool. It is a small piece of heavy plastic or resin. It is made in a testing lab. It mimics a specific moisture level perfectly. I bought one from Wagner Meters a few years ago. It changed how I work.
Place the block on a flat wooden table. Turn your pinless meter on. Press the meter down firmly onto the block. Read the digital screen.
The block has a label on it. It might say 10%. Your meter should read exactly 10%. If you wonder how do you calibrate a digital moisture meter, this block is the magic key.
If the reading is wrong, look for a “CAL” button. Press and hold it. The tool will reset itself to match the block. This forces the tool back to factory zero.
Dealing with Scratched Sensor Pads
Pinless meters use a flat pad on the back. This pad shoots radio waves into the wood.
I made a huge mistake once. I set my meter down on rough concrete. It scratched the sensor pad deeply. A scratched pad changes how the radio waves bounce back.
If your pad is badly scratched, the calibration block will not help. The block will read wrong. The wood will read wrong. You cannot fix a deep scratch. You just have to buy a new meter. Keep your tools in a soft case.
| Meter Type | Best Way to Test It |
| Pin Meter | Use the built-in cap test |
| Pinless Meter | Use a solid calibration block |
Step 3: The Ultimate Oven Dry Method
What if you do not trust your meter at all? What if you have no testing block? There is an old, trusted method. It is the most accurate way in the world. It is called the oven dry test.
Scientists use this exact method. Groups like ASTM International set the strict rules for it. You weigh a small piece of wood. You bake it until all the water is gone. Then you weigh it again.
The weight difference tells you exactly how much water was in the wood. This test never lies. You can use this real number to check your tool. I do this in my kitchen oven. Let me show you how.
Cutting the Right Wood Sample
First, cut a small piece of wood. It should be the size of a deck of playing cards.
Do not use the end of a long board. Cut a piece from the deep middle. The ends of boards dry out much faster than the center. If you test the end, you get a bad number.
Next, weigh the wood. You need a very good digital scale. A kitchen food scale works well. Write down the exact weight in grams. Be very precise. Write it on a notepad.
Baking the Wood
Turn your kitchen oven on. Set it to 215 degrees Fahrenheit. Put the wood sample inside.
Leave it there for twenty-four hours. This low heat bakes all the water out slowly. The wood will not catch fire at this heat. But keep an eye on it just to be safe.
Take the wood out. Weigh it again quickly. Write down this new weight. Put the wood back in the oven for two more hours. Weigh it again. If the weight is exactly the same, it is fully dry. The baking is done.
Doing the Final Math
Now you have two numbers on your notepad. You have the wet weight. You have the completely dry weight. You just need to do simple math.
Subtract the dry weight from the wet weight. This gives you the total water weight. Divide that water weight by the dry weight. Multiply that new number by 100.
This final number is your exact moisture percentage. Now, test that same batch of wood with your meter. Do the numbers match? If the math says 12% and your tool says 12%, your tool is perfect. If your tool says 18%, your tool is lying.
| Wood Testing Stage | Action You Need to Take |
| First Fresh Cut | Weigh immediately on a digital scale |
| After 24 Hours in Oven | Weigh it and check the number |
| After 26 Hours in Oven | Weigh to confirm it stopped changing |
Step 4: Fix Battery and Power Issues
This step sounds too simple. But it is the biggest mistake people make. A low battery ruins the reading every time.
Digital tools need strong battery power to send signals. Pin meters need power to push electricity. Pinless meters need power to shoot radio waves. When the battery gets low, the signal gets weak.
A weak signal reads as dry wood. Your tool might say the wood is 8% when it is really 15%. This is a dangerous lie.
I never wait for the low battery light to turn on. If I am starting a big, expensive project, I put in a fresh battery. I throw the old one in a drawer for my flashlights. Good batteries are very cheap. Ruined wood is very expensive.
Why Cold Batteries Fail Faster
Cold weather kills batteries. I used to leave my tool bag in my truck overnight. In winter, the truck gets freezing cold.
A freezing battery loses half its power. If you bring a cold tool into a warm house and use it, it will fail. The screen might turn on. But the signal will be terribly weak.
Always keep your meter inside your heated house. Treat it like a cell phone. If you are learning how to calibrate moisture meter tools, start with a warm, fresh battery.
| Battery State | Meter Accuracy Level |
| Brand New Battery | Highly accurate and strong signal |
| Used for Many Months | Can read too low due to weak signal |
| Low Battery Light On | Do not trust the reading at all |
Step 5: Adjust for Wood Species and Temperature
Not all wood is the same. Oak is very heavy and dense. Pine is very light and soft. They hold water differently.
Your tool needs to know exactly what wood you are testing. Most good tools have a species button. You press it to change the setting. You might set it to ‘1’ for dense oak. You might set it to ‘3’ for soft pine.
Read your manual. Find the species chart. Keep it in your tool case. If you do not change the species setting, the tool will give you a bad number. I tested heavy maple on the pine setting once. It told me the wood was dry. It was not. It cost me a lot of money.
The Problem with Cold Wood
Temperature changes everything. Cold wood reads very differently than hot wood.
The Forest Products Laboratory notes that wood temperature affects electrical resistance. If wood is cold, it resists electricity more. A pin meter will think cold wood is drier than it really is.
If your wood is sitting in a cold garage, do not test it yet. Bring it inside. Let it sit for a day or two. Let it reach room temperature.
Also, let your tool warm up. Condensation forms on cold sensors. Tiny water drops on the sensors ruin the test completely. Your tool and your wood must be the same heat as the room.
| Wood Type | Meter Setting Action |
| Hardwoods (Oak, Maple, Walnut) | Use specific high-density setting |
| Softwoods (Pine, Fir, Cedar) | Use specific low-density setting |
| Cold Wood (Below 50 Degrees) | Warm it up before testing |
Mistakes I Made When Learning How to Calibrate a Moisture Meter
I have made every mistake possible in my shop. I want to share them so you do not repeat them.
The first big mistake is testing wet wood. Do not test wood that has visible rain or dew on it. The tool will only read the water on top. It will not read the water inside the wood. Wipe the wood completely dry. Wait a full hour. Then test it.
The second mistake is pushing too hard. With pin meters, people try to hammer them deeply into the wood. This breaks the metal pins. It loosens the delicate parts inside the case. Just push firmly. The pins only need to go in a tiny bit.
The third mistake is testing just one single spot. Wood dries very unevenly. The end of a board might be 10%. The middle might be 16%. Always test three or four different spots. Average the numbers in your head.
What to Do When Calibration Fails
Sometimes, you cannot fix the tool. You try the built-in cap test. It fails. You try the testing block. It fails. You put in a fresh battery. It still fails.
When this happens, the tool is dead. Do not try to open the plastic case. Do not try to solder the tiny wires inside. These tools are made in clean rooms. You cannot fix them on a dusty workbench.
It hurts to throw away a favorite tool. But keeping a bad tool is much worse. A bad tool will ruin your hard work. Accept the loss. Go buy a new one. Treat the new one better. Keep it safe in a padded case.
Final Thoughts
Learning how to calibrate a moisture meter changed how I work every day. I no longer guess. I no longer cross my fingers and just hope the wood is dry. I know for a fact. Taking care of your delicate tools means they will take care of you.
Do not wait for a flooring project to fail. Test your tool today. Change the battery right now. Use the cap test. Buy a testing block. These small steps take very little time. They give you total peace of mind. Build with absolute confidence.
Frequently Asked Questions
How do you calibrate a digital moisture meter at home?
The best way is to use the built-in cap tester or a separate calibration block. You simply touch the pins to the cap’s metal contacts or press the sensor pad onto the flat block. Check if the screen matches the manual’s set number.
How do I calibrate my moisture meter if it has no block?
You can perform an oven-dry test on a small piece of wood to find its exact water content. Then, test that same wood with your tool. If the numbers match, your tool is reading correctly. If not, the tool is broken.
Why does my tool give different readings in the exact same spot?
This usually means the battery is dying or the pins are loose. Replace the battery first. If the pins are loose, tighten them carefully with pliers. Make sure the wood surface is completely clean and dry.
How often should I test my tool?
You should test it before starting any major project. In a busy woodworking shop, I test mine every single morning. It only takes a few seconds and prevents extremely costly mistakes.
Can I fix a tool that will not calibrate?
Usually, no. If a fresh battery and a factory reset do not fix it, the internal sensors are likely broken or shifted. Do not open the casing. You will need to buy a brand new replacement tool.