
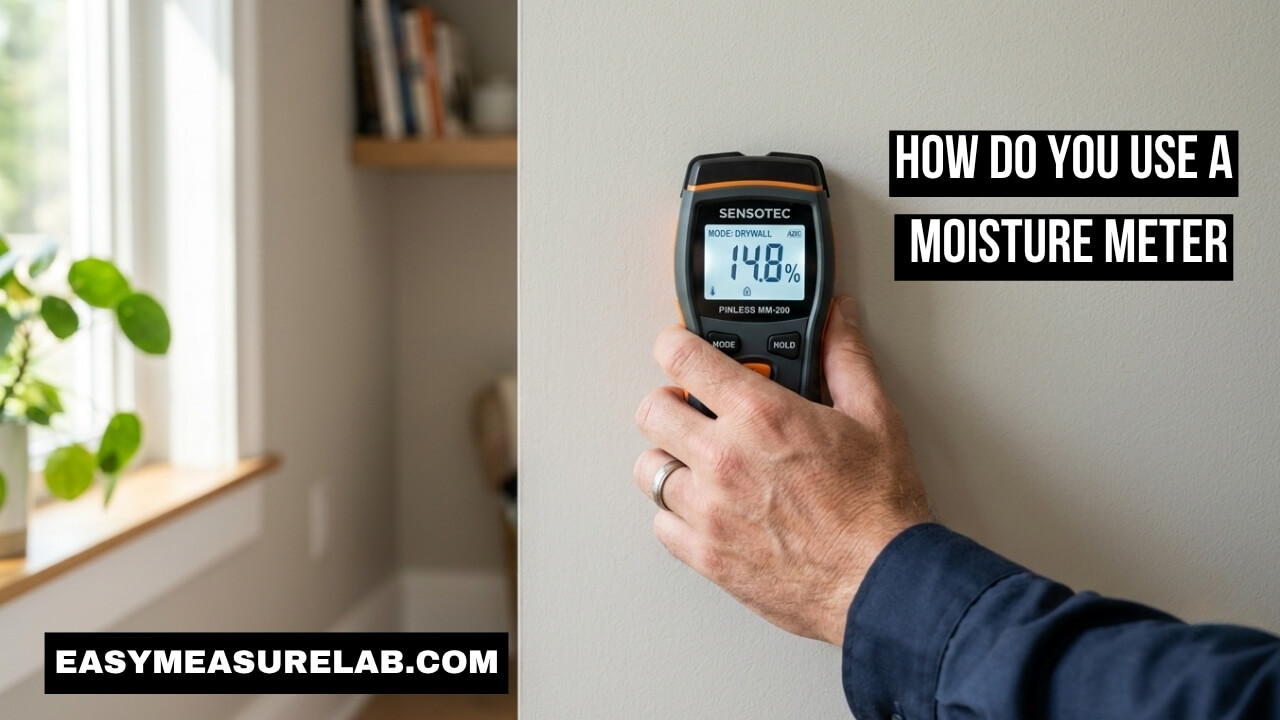
I still remember the day I saw a dark spot on my living room ceiling. Panic set in fast. Was my roof actively leaking? Was it just an old, dry stain? I rushed to the hardware store and bought a tool to find out. I got home, stared at the blank digital screen, and felt totally lost. I asked myself: how do you use a moisture meter?
I spent the next few weeks testing everything in my house. I poked my walls. I scanned my hardwood floors. I even tested a wet sponge. I made many dumb mistakes. I panicked over fake high readings. But I finally figured it out. I built a perfect step-by-step process. Now, I use this tool all the time. I want to share my exact process so you can skip the stress.
Why You Need to Know How Do You Use a Moisture Meter
Water destroys homes quickly. You cannot always trust your eyes.
A wall might look dry but hide a bad pipe leak. Wood might feel dry but rot from the inside out. A good tool tells you the truth. It saves you money. It stops mold before it grows. It gives you peace of mind. Let us walk through the simple seven-step process I use every single time.
Step 1: Pick the Right Meter Type
You must start with the right tool. Meters come in two main styles.
The way they test things is very different. If you pick the wrong one for your chore, you will fail. You will get bad numbers. Or worse, you will ruin your walls. Let us look at both options.
Pin Meters
These tools have two sharp metal probes at the top. You push them deep into the wood.
They use a small electrical shock to test for water. Water conducts electricity very well. Dry wood does not. If the spark travels fast, the wood is wet. I use this type to test my winter firewood. I also use it to find the exact spot of a roof leak.
Pinless Meters
These tools do not have sharp pins. They use a flat, smooth pad on the back.
You press the pad flat against your wall. It uses radio waves to scan deep inside. It does not poke holes. It does not ruin your nice paint. I love this tool for scanning large rooms fast. It helps me find hidden plumbing leaks.
| Comparison Point | Pin Meter | Pinless Meter |
| How it tests | Pokes holes | Scans flat |
| What it uses | Electricity | Radio waves |
| Best used for | Firewood and exact spots | Drywall and nice floors |
Step 2: Turn It On and Check Calibration
Your tool must be accurate. If it is wrong, your whole project is ruined.
Press the power button. Look at the digital screen. Ensure the battery is fully charged. A low battery will give you fake readings. Most good tools come with a small plastic calibration cap.
Testing the Tool
Take the calibration cap out of your case. Put it over the pins.
The screen should show a specific number. Read your manual to find that exact number. My tool should always read exactly 18% with the cap on. If it reads 18%, I know it works. If it reads 12%, the tool is broken. Always check this first.
Step 3: Pick the Right Material Setting
This is the step I messed up the most. You must tell the tool what you are testing.
Wood and stone hold water differently. Drywall is not the same as oak. Most tools have a small button to change the mode. Press the button until you see the right word or icon on the screen.
Why the Mode Matters
If you test a brick wall on the “wood” mode, the math is wrong.
The tool will tell you the brick is soaking wet. You will panic. You will think your basement is flooding. But the brick is actually fine. The tool was just confused. Always double-check the mode.
| Material You Test | Mode Needed |
| Pine lumber | Wood |
| Oak flooring | Wood |
| Bathroom wall | Drywall or Building |
| Basement floor | Concrete or Masonry |
Step 4: Find a Dry Baseline First
You cannot judge a wet spot if you do not know what a dry spot looks like.
Every house is a little different. The air in Florida is wet. The air in Arizona is dry. Your walls will match your local air. You need to find your home’s normal number. This is called a baseline.
How to Get Your Baseline
Walk away from the leak. Go to an interior wall in the middle of your house.
Test that wall. Write the number down. Let us say it reads 8%. That is your dry baseline. Now, walk back to the water stain. Test the stain. If the stain reads 9%, you are fine. If the stain reads 25%, you have an active leak.
Step 5: Press the Tool the Right Way
How you hold the tool changes the reading. You must be firm and steady.
If you are sloppy, the tool will guess. You do not want guesses. You want facts. Here is how I press both types of tools for perfect results.
Pressing a Pin Meter
Hold the tool firmly in your hand. Line up the sharp pins with the wood grain.
Push the pins in as deep as you can. Do not be gentle. You want to test the deep core, not just the surface. When you finish, pull the tool straight out. Never twist your wrist. Twisting will snap the metal pins right off.
Pressing a Pinless Meter
Hold the tool flat against the wall. Do not tilt it.
The entire back pad must touch the paint. If you tilt it, the tool tests the air in the room. This causes errors. Press it flat and glide it slowly. Do not lift it up. Just slide it like an iron on a shirt.
| Mistake | What Happens | Better Approach |
| Tilting the scanner | Tests the room air | Press completely flat |
| Tapping pins lightly | Tests only the surface | Push deep into wood |
| Twisting pins out | Snaps pins off | Pull straight back |
Step 6: Read the Screen Like a Pro
Now you have a number. But what does that number actually mean?
This part confused me for a long time. I thought any number over zero was bad. That is a myth. Wood is never truly zero. It breathes air. It always holds a little water.
Reading Wood Numbers
If your wood reads between 6% and 15%, it is very safe.
If the screen reads over 20%, you are in the danger zone. Mold loves wet wood. Bugs love wet wood. Wood will begin to rot at this stage. The USDA Forest Service warns that wood decay speeds up rapidly past 20%.
Reading Drywall Numbers
Drywall has a paper face. It must stay very dry.
A normal drywall reading is between 5% and 12%. If it hits 15%, water is leaking behind the paint. If it hits 20%, the paper will grow mold fast. The EPA guidelines on mold state that mold grows on wet drywall in just two days.
| Material | Safe Level | Danger Level |
| Hardwood | 6% to 9% | Over 12% |
| Wall Studs | 9% to 14% | Over 20% |
| Drywall | 5% to 12% | Over 15% |
Step 7: Decide What to Do Next
The tool gave you the facts. Now you must take action.
If the number is low, you can relax. Paint over the old stain. If the number is high, you must fix the problem. You cannot ignore a high number. It will only get worse.
Tracing the Leak
Water flows down. The wettest spot is usually near the source.
I use my tool to trace the wet path. I follow the high numbers up the wall. I follow them across the ceiling. This leads me right to the bad pipe or the bad roof shingle. The InterNACHI home inspection standards always advise tracing moisture upwards to find the true entry point.
Common Mistakes I Made at First
I want to share my dumbest mistakes. I hope they save you some time.
When I first learned how do you use a moisture meter, I jumped to conclusions. I ripped open a wall for no reason once. Do not do what I did.
Metal Tricks the Radio Waves
Pinless meters hate hidden metal. Metal blocks their radio waves.
I scanned my dry bathroom wall. The tool beeped like crazy. The screen said 100% wet. I cut a hole in the wall. I found zero water. I found a metal pipe bracket. The metal tricked the tool. Always check for nails or brackets if you get a crazy high spike.
Testing Wet Bark
I tested my firewood. The bark read 10%. I threw the log in the fire.
It hissed. It smoked. It barely burned. The bark was dry, but the inside of the log was soaking wet. Never test the bark. Split the log first. Test the fresh center.
| Problem | Likely Cause | Quick Fix |
| Fake high spike on wall | Hidden metal screw | Move tool two inches |
| Firewood smokes badly | Tested the bark | Split log and test core |
| Screen stuck on zero | Pins barely touching | Push pins deeper |
How Do You Use a Moisture Meter for Firewood?
This is my favorite way to use this tool. Good firewood keeps my home warm.
Wet firewood creates heavy smoke. It builds up thick tar in your chimney. This can cause a terrible house fire. You must test your wood before winter comes. The Department of Energy states that burning wet wood wastes a massive amount of heat energy.
The Split Test
Take a log from your pile. Chop it directly in half with an axe.
Take your pin tool. Press the pins firmly into the fresh, damp center of the wood. Look at the screen. If it is under 20%, it will burn great. If it is 25% or higher, put it back outside. It needs another year in the sun.
Testing RVs and Campers
RVs are famous for hidden leaks. Water destroys them very fast.
I check my camper every single spring. I use my pinless scanner. I scan the ceiling corners. I scan the floor near the slide-out doors. I check the walls under the windows.
Finding the Soft Spots
Camper walls are very thin. A tiny leak turns the wood into mush.
I use the scanner to find wet zones. If the scanner beeps, I press the wall with my thumb. If it feels soft, I know I have a bad roof seal. Catching it early saves the entire camper from rotting away.
| RV Spot to Check | Why Check It |
| Window edges | Caulking dries out fast |
| Roof corners | Branches tear roof seals |
| Under sinks | Water lines bounce and leak |
How to Keep Your Tool Working
These tools are built tough. But they are electronics. They need care.
If you leave it in a hot, wet truck bed, it will break. If you toss it in a toolbox with heavy hammers, the screen will crack. I treat my tool like a nice camera.
Clean and Dry
Water is the enemy of the inside parts.
After I check a wet basement, I dry my tool. I wipe it with a clean towel. I put the protective cap back on. I put it in its soft zip case. I keep it in a dry drawer inside my house.
Final Thoughts
Learning how do you use a moisture meter is not hard at all. It just takes a few tries. Once you understand the seven steps, you will feel like a real pro. You will never guess about water damage again. You will know the facts.
Take your time. Pick the right mode. Find a dry baseline first. Watch out for hidden metal in your walls. Treat the tool well, and it will save you thousands of dollars in home repairs over the years. Keep it simple and trust the numbers.
Frequently Asked Questions
How do you use a moisture meter on painted drywall?
Set your tool to the drywall mode. If you have a pinless tool, press the back pad completely flat against the paint. Do not tilt it. Glide it slowly across the wall and watch the screen for any sudden spikes in the numbers.
What is a normal moisture reading for a house?
For most indoor rooms, a normal drywall reading sits between 5% and 12%. For framing studs and nice hardwood floors, normal readings fall between 6% and 14%. If numbers climb over 15%, you should investigate.
Can my tool give me a fake high reading?
Yes. Pinless tools use radio waves. If you scan over a hidden metal screw, a copper water line, or a metal stud, the tool will spike. It will show a very high number even if the wall is completely dry.
Do I need a pin tool or a pinless tool for my home?
If you want to check large walls quickly without leaving ugly holes, buy a pinless tool. If you need to test thick firewood or find an exact tiny leak deep in a roof board, a pin tool is the better choice.
How do I properly test my firewood?
Never test the outside bark. The bark dries much faster than the rest of the wood. You must split the log in half with an axe. Press the metal pins firmly into the fresh center of the log. It should read under 20% to burn safely.
1 thought on “How Do You Use a Moisture Meter? 7 Proven Steps”