
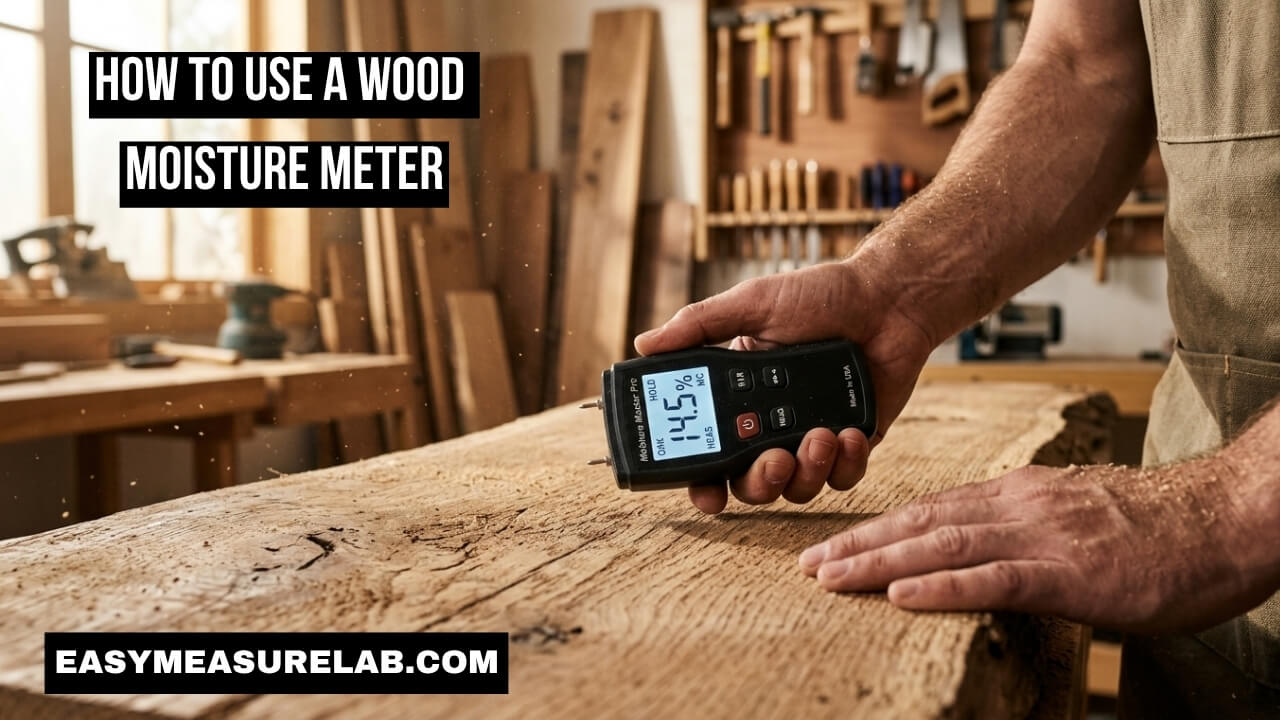
Figuring out how to use a wood moisture meter saved my woodworking hobby. I used to build things without checking the wood first. Then, my projects would warp. A beautiful oak tabletop I built cracked right down the middle. I was heartbroken. I realized I had to change my approach.
Now, I test every single board before I cut it. You need to do this too. It takes just a few seconds. It saves you hours of frustration and wasted money. Let me share exactly what I learned from my own mistakes so you can build better projects.
Why You Must Test Your Wood
Wood acts just like a sponge. It absorbs water from the air. It also dries out when the air is dry. This causes the wood to move.
When wood moves, it changes shape. It shrinks. It swells. If you build a table with wet wood, it will shrink later. This ruins all your hard work.
| Moisture Issue | Real-World Result |
| Wood is too wet | Joints crack as the wood dries and shrinks |
| Wood is too dry | Boards swell and buckle in high humidity |
| Uneven moisture | Boards twist, bow, and warp out of shape |
The Two Main Types of Meters
You will find two main tools for this job. They both measure water inside the wood. But they do it in very different ways.
You need to know which one you hold in your hand. I bought the wrong one for my first big project. It left marks all over my finished table.
| Feature | Pin Meter | Pinless Meter |
| How it works | Pokes metal pins into wood | Scans the flat surface |
| Leaves marks? | Yes, small holes | No marks at all |
| Best used for | Firewood, rough rough-cut lumber | Finished furniture, floors |
7 Proven Steps: How to Use a Wood Moisture Meter
Learning how to use a wood moisture meter is actually quite easy. You just need to follow a few basic rules.
If you skip these steps, you will get bad readings. I used to just poke the wood and trust the first number. That was a big mistake. Here are the exact seven steps I follow every single time.
Step 1: Pick the Right Tool for the Job
You must choose the right meter for your specific project. Do not use a pin meter on an expensive dining table. It will leave ugly holes in the surface.
I use a pinless meter for all my indoor furniture projects. It keeps the wood looking perfect. I only use my pin meter for firewood or rough boards straight from the sawmill.
Step 2: Set the Exact Wood Species
Not all wood is the same. Oak is very dense. Pine is very soft. The meter needs to know what you are testing.
Most good meters have a species setting. You must check the manual. Find the specific code for your wood type. Enter that code into the tool before you test.
Step 3: Adjust the Tool for Temperature
Wood temperature changes how the meter reads. Cold wood reads differently than warm wood.
Some expensive meters adjust for this automatically. Others need you to type in the room temperature. I always let my wood sit in the shop for a few days so it matches the room temperature.
Step 4: Find the Perfect Testing Spot
Do not test the very end of the board. The ends dry out much faster than the middle.
Move at least one foot inward from the edge. Test near the direct center of the board. This gives you the true moisture level of the wood.
Step 5: Take the Surface Reading Properly
If you use a pin meter, push the pins in firmly. They need to go deep enough to get past the dry surface. Make sure the pins line up perfectly with the grain of the wood.
If you use a pinless meter, press it flat. Hold it steady. Do not tilt it. Read the clear number on the screen.
Step 6: Test the Deep Core on Thick Lumber
Thick boards hide a secret. The outside might feel dry. The inside can still be soaking wet. This is called a moisture gradient.
To test a thick board, you might need to make a fresh cut. Cut the board in half. Test the brand new center grain. This shows you the true core moisture.
Step 7: Wait for Complete Wood Acclimation
You cannot just buy wood and build with it the same day. The wood needs to get used to your room. This is called acclimation.
Test your wood over a few days. Write the number down on the board with a pencil. When the number stops changing, the wood is ready. It has reached its final state.
| Step Focus | Why It Matters |
| Setting Species | Stops false readings on hard vs. soft wood |
| Checking the Middle | Avoids the overly dry edges of the board |
| Waiting for Acclimation | Ensures the wood stops shrinking later |
Common Mistakes When Measuring Wood Moisture
I made a lot of silly mistakes when I started. I trusted the meter blindly. I did not understand what the numbers actually meant.
You can avoid my headaches. Just pay attention to these common traps. If you know what to look for, you will get perfect results.
| Mistake | Better Approach |
| Testing wood covered in dew or rain | Wipe it completely dry and wait a few hours |
| Pressing a pinless meter lightly | Press it firmly and flat against the wood |
| Testing only one spot | Test three different spots and find the average |
Understanding Ideal Moisture Levels
People always ask me what the perfect number is. The truth is, it depends on where the wood will live.
A chair in your living room needs dry wood. A fence in your backyard needs wetter wood. You must know your target number before you build.
| Project Type | Safe Moisture Range |
| Indoor Hardwood Flooring | 6% to 9% |
| Indoor Furniture & Cabinets | 6% to 8% |
| Outdoor Furniture & Fences | 12% to 15% |
Indoor Projects Need Dry Wood
Houses have heating and air conditioning. This makes the air inside very dry. Your wood must be dry too.
If you bring wet wood inside, it will shrink fast. Your joints will fail. I always aim for around 7% for anything staying inside my house.
Outdoor Projects Need Flexibility
Outside air holds more water. If you make an outdoor bench too dry, it will soak up the rain. It will swell and buckle.
I leave my outdoor lumber a little wetter. Around 13% works great for my patio projects. It matches the outdoor air much better.
Deep Dive: How Wood Dries Out
Wood dries from the outside in. This is a crucial fact to remember.
The surface gives up water quickly. The core holds onto water for a long time. You can read more about this exact science in guidelines from the USDA Forest Service. They explain wood cell structure perfectly.
The Danger of the Wet Core
I once bought a thick slab of walnut. I tested the top. It read 8%. I thought I was safe. I planed it down.
The next day, it warped into a bowl shape. The core was actually 15%. I exposed the wet core to the dry air. It ruined a very expensive piece of wood.
Using Deep Pins
If you have a pin meter, you can buy extra-long pins. You hammer them deep into the wood.
They read the true core moisture. Brands like Delmhorst make great specialized pins just for this. It is the only safe way to check giant slabs.
How to Acclimate Your Wood
Acclimation is the most important part of woodworking. You must let the wood adapt to your shop space.
Wood breathes. It takes in the air around it. If your house is dry, the wood will naturally dry out over time.
Stack and Sticker
Bring your lumber into the room where the furniture will live. Stack it up flat. Put small, dry sticks between the boards. These are called stickers.
Stickers let the air flow around every single side of the wood. This helps it dry evenly. I just use cheap scrap wood for my stickers.
Keep a Running Log
Use your meter every single week. Check the same spot on the wood. Write the date and the number directly on the board.
When the number stays the same for two straight weeks, the wood is safe to cut. Experts at Wood Magazine swear by this exact method. It never fails me.
Keeping Your Moisture Meter Accurate
Your meter is a delicate scientific tool. You must treat it well. If you drop it hard, it might break inside.
If the sensor gets dirty, it will lie to you. I keep mine in a padded zipper case. It is one of the most important things in my shop.
| Problem | Troubleshooting Step |
| Meter shows “ERR” on screen | Check the battery or wipe the sensor clean |
| Readings jump around constantly | Hold the pinless meter totally still and flat |
| Wood feels very dry but reads wet | The deep core is still wet, wait much longer |
Always Check the Batteries
A low battery gives totally bad readings. Change the battery often.
If the screen looks dim at all, swap the battery right away. A fresh battery ensures the electric signal is strong and true.
Keep the Sensors Spotless
Wipe the metal pins after you use them. Tree sap can stick to the metal. This sticky resin ruins the electrical connection.
Wipe the flat sensor pad on a pinless meter too. A clean pad gives a true reading. The folks at Wagner Meters always suggest keeping the sensor plate free of shop dust.
When Wood Moisture Meters Fail
Sometimes, you do everything right. But the meter still gives a crazy reading. There are a few things that can block the signal.
You need to know these hidden traps. They can trick even the best tools on the market.
Surface Moisture Tricks
If you bring cold wood into a warm room, it sweats. Condensation forms on the surface.
Your meter will read this tiny bit of water. It will say the wood is wet. Wipe the board. Wait an hour. Test it again.
Hidden Metal Inside the Wood
Pinless meters use radio waves. Metal blocks these waves.
If your board has a hidden nail inside, the meter will spike. It will think the metal is water. Move the meter a few inches away. If the reading drops, you just found a hidden nail.
Final Thoughts
Learning how to use a wood moisture meter is the best thing I ever did for my woodworking. It took all the scary guesswork out of my projects. I no longer worry if a custom tabletop will crack in the winter.
Get a good quality meter. Check your wood species every time. Press the tool firmly. Wait for the wood to acclimate. These simple habits will make you a much better builder. You will save money, save time, and build beautiful things that actually last a lifetime.
Frequently Asked Questions (FAQs)
What is a good moisture reading for indoor wood?
For indoor furniture and floors, you want a reading between 6% and 8%. This keeps the wood stable in a dry, heated house.
Can a wood moisture meter measure my drywall?
Some meters have a special mode for drywall or concrete. However, you must check your specific manual. Do not use a wood setting to test a house wall.
Do metal pin holes ruin the finished wood?
Pin holes do leave small visible marks. If you are building fine furniture, test the back side of the board. Better yet, buy a pinless meter to avoid holes completely.
Why does my meter read differently on the exact same board?
Wood is a living, natural material. Some parts are denser than others. Knots and sapwood hold water differently. Always take a few readings and find the average.
How deep does a pinless meter actually read?
Most standard pinless meters read about 3/4 of an inch deep into the wood. This is perfect for standard furniture boards and hardwood flooring planks.
2 thoughts on “7 Proven Steps: How to Use a Wood Moisture Meter”