
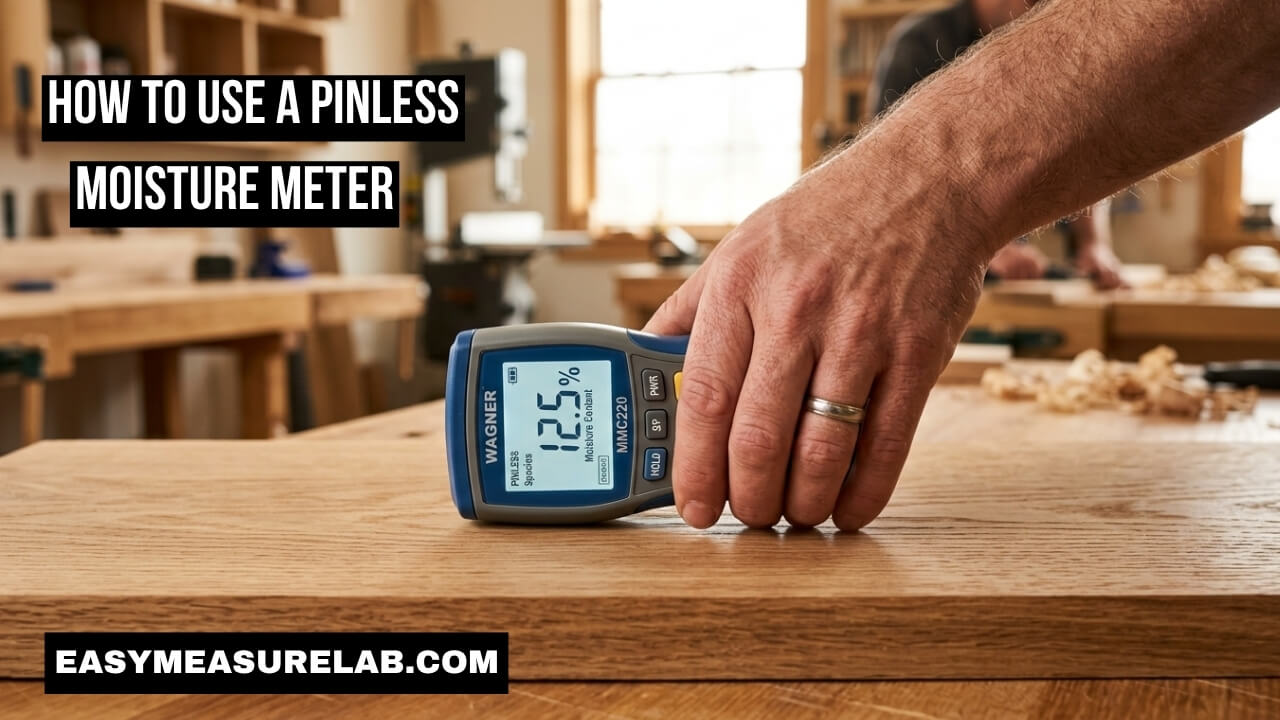
Wood holds water deep inside. You can not always see it. You can not always feel it. But the water is there. If you build with wet wood, your project will fail. The wood will shrink. It will crack. I learned this the hard way. I built a nice oak table. Six months later, the top split right down the middle. The wood was too wet.
That is why I bought a new tool. Today, I will teach you how to use a pinless moisture meter. It is fast. It is easy. It saves you from costly mistakes. I use mine on every single project now. Let me show you how it works so you can get perfect results, too.
Why I Switched to Pinless Meters
I used to use a meter with sharp metal pins. It worked fine for a while.
But I hated poking holes in nice wood. If I bought expensive cherry wood, I did not want to damage it. Pinned meters leave ugly holes. You have to fill those holes later. It takes extra time. It ruins the smooth look of the board.
A pinless tool is totally different. It uses a flat sensor pad. It sends a safe signal down into the wood. It reads the water deep inside. It does not scratch the wood at all. I can scan a whole board in ten seconds. It is much faster.
Pinned vs Pinless Tools
Here is a quick look at why I made the switch. Both tools work, but one is much easier to use every day.
| Feature | Pinned Meter | Pinless Meter |
| Wood Damage | Leaves small holes | Leaves zero marks |
| Testing Speed | Very slow to use | Very fast to use |
| Best Used For | Firewood, rough cuts | Fine floors, furniture |
How to Use a Pinless Moisture Meter
Learning how to use a pinless moisture meter takes just a few minutes.
You need to follow the right steps. If you skip a step, the tool will lie to you. It will give you a bad number. I have messed this up before. I scanned a board the wrong way and thought it was dry. It was not. Follow these seven simple steps every single time.
1. Turn It On and Calibrate
You must start with a clean slate. Turn on the power button. Look at the screen.
Some tools need to warm up. Hold the tool up in the air. Do not touch the flat sensor pad on the back. Press the zero or calibrate button. The screen should read zero. Now the tool is ready. If you skip this, the air humidity can mess up your reading. Always start with a fresh zero.
2. Set the Wood Species Code
Not all wood is the same. Oak is very dense. Pine is very soft.
The tool needs to know what you are scanning. Most tools come with a small book. The book lists different wood types. It gives a number for each type. This is the species code. Enter this code into your tool. If you use the oak code on pine wood, the reading will be wrong.
Wood Density Settings
Here is a simple look at how wood types change the settings on your tool.
| Wood Type | Density Level | Typical Code Range |
| Pine / Cedar | Soft and light | Low numbers |
| Oak / Maple | Hard and heavy | High numbers |
| MDF / Plywood | Man-made | Varies by brand |
3. Wipe the Surface Dry
The sensor pad reads water. It reads the closest water first.
If there is water resting on top of the wood, the tool reads that. It will think the whole board is soaking wet. Wipe the wood with a dry rag. Make sure there is no rain, dew, or sweat on the board. The wood must feel completely dry on the outside before you scan.
4. Press the Sensor Flat
The back of the tool has a flat pad. This is the sensor.
This pad must touch the wood fully. Do not tilt the tool. Do not lift an edge. Place it perfectly flat. Press down with firm, even pressure. The sensor needs a tight seal against the wood grain. This lets it send its signal deep inside the board.
5. Read the Screen
Hold the tool still for three seconds. Let it process the signal.
Look at the digital screen. It will show a percentage number. This is the moisture content. For indoor furniture, you want a number between six and eight percent. For outdoor decks, you can go a bit higher. If the number is too high, the wood needs more time to dry.
6. Scan Multiple Locations
Never trust just one spot on a board. Wood dries unevenly.
One end of a board can be dry. The other end can be soaking wet. I always check the left side. Then I check the middle. Then I check the right side. I look at all three numbers. I take the highest number as my final reading. This keeps me safe from hidden wet spots.
7. Turn Off and Store Properly
When you finish scanning, take care of your tool.
Wipe the back pad with a soft cloth. Remove any dust or sap. Turn the power off to save the battery. Put the tool back in its hard case. The sensor pad is fragile. If you scratch the pad, the tool will stop working right. Treat it like a fine camera.
The Biggest Mistakes I Made
When I first learned how to use a pinless moisture meter, I made silly mistakes.
I want to share my mistakes with you. This will save you time. It will keep you from getting tricked by bad numbers. The tool is smart. But you have to use it right. Here are my biggest errors from the past.
Testing Wood That Is Too Thin
Pinless tools look deep. Most tools look three-quarters of an inch down.
If your wood is very thin, the signal goes right through it. If the wood sits on a wet table, the tool reads the table. It does not read the wood. If you scan a thin board, lift it up in the air. Put your hand on the side edges. Do not let your hand touch the back of the board.
Fixing the Thickness Problem
Here is how I handle boards of different sizes now to get good reads.
| Board Thickness | Can I Scan It? | What To Do |
| Over 3/4 inch | Yes, perfectly | Scan it flat on a table |
| Under 3/4 inch | Yes, with care | Lift the board in the air |
| Paper thin | No, not accurate | Use a pinned tool instead |
Scanning Over Metal Nails
Metal ruins the reading entirely.
The tool uses an electrical signal. Metal is highly conductive. If you scan over a hidden nail, the tool goes crazy. The number shoots up to the max. I once thought a dry wall was soaking wet. It turned out I was scanning right over a hidden metal screw. Keep the pad away from all metal bits.
Scanning Rough, Bumpy Wood
The pad must sit perfectly flat on the wood.
If the wood is very rough, the pad can not touch it fully. Air gets under the pad. Air messes up the signal. The reading will be too low. If you have rough wood, you might need to sand a small spot flat. Or you might need to use a pinned tool just for that one rough piece.
Where I Use This Tool the Most
You can use this tool on almost anything in your house.
I keep mine in my truck. I take it to the lumber yard. I use it at home. It is great for building things. But it is also great for fixing things. Here are the most common ways I use it in real life.
Buying Good Lumber
I never buy wood without my tool. It saves me so much money.
Stores keep wood outside. Sometimes it rains on the stacks. The wood looks fine on the rack. But if you take it home, it will warp as it dries. I take my tool into the store. I press it against the boards. If the number is over ten percent for indoor wood, I put it back. I only buy dry wood.
Checking Firewood
Wet firewood smokes a lot. It does not burn hot.
You need dry wood for a good fire. You can split a log in half. Then, press the flat sensor against the fresh inside cut. You want a number below twenty percent. If it is higher, leave the wood outside for another year. It is not ready to burn yet.
Installing Hardwood Floors
Floors are very tricky. Water destroys them fast.
The wood floor must match the subfloor. If the subfloor is wet, the nice new floor will cup and buckle. It will look terrible. Before I lay any floor, I scan the base layer. Then I scan the new wood. The numbers must be very close. You can read more about floor prep on Bob Vila.
Floor Moisture Rules
Here is my quick guide for laying down new wood floors safely.
| Floor Layer | Ideal Number | What Happens if Wet |
| New Wood Planks | 6% to 9% | Boards shrink and gap |
| Subfloor Base | Under 12% | Planks cup and warp |
Finding Leaks in Your Home
You can use this tool to find hidden water in your house.
Water leaks are scary. They cause rot. They cause mold. You can learn a lot from the EPA guide on mold if you find a bad leak. The sooner you find the water, the less it costs to fix. My tool has helped me find leaks before they ruined my walls.
Checking Wet Drywall
Drywall acts just like a sponge. It pulls water up.
If your roof leaks, water runs down the inside of the wall. The paint looks fine. But the drywall gets soft. I press my flat sensor against the paint. I drag it slowly down the wall. If I hit a wet spot, the tool beeps. The number jumps up. I can trace the exact path of the hidden water.
Finding the Source of the Leak
Here is how I use the tool to track down where the water comes from.
| Step | Action | Why It Helps |
| Start Low | Scan near the baseboard | Water always pools low |
| Move Up | Follow high numbers | Points back to the leak |
| Mark Edges | Use a pencil on dry spots | Shows you what to cut out |
Checking RV and Camper Walls
Campers leak all the time. It is a huge problem.
The walls are very thin. Water gets in from the roof seams. It rots the wood frame inside. When I buy a used camper, I take my tool. I press it all over the inside walls. I check around the windows. If I find high moisture, I walk away. It saves me from buying a rotten camper.
Pro Tips for Getting Perfect Numbers
Over the years, I have picked up a few tricks.
These small things make a big difference. I want to share them so you can be a pro right away. You can find more great tips on sites like This Old House flooring guide. But here are my personal favorites.
Stay Away from the Edge
Edges dry much faster than the middle of the board.
If you scan the very end of a board, it will read dry. But the center might still be soaked. I always stay two inches away from the ends. I also stay away from the side edges. The middle of the board tells the real story. Always scan the center mass.
Keep the Sensor Clean
Dust ruins the reading over time.
Wood shops are dusty. Sawdust coats the flat pad on the back of the tool. If the pad is dirty, it can not read the wood well. I keep a soft microfiber cloth in my tool bag. I wipe the pad clean before every single job. It takes two seconds.
Care and Storage
Taking care of the tool makes it last a lifetime. Here is my routine.
| Care Task | How Often | Why It Matters |
| Wipe Sensor Pad | After every use | Keeps signals strong |
| Remove Battery | If storing for a month | Stops acid leaks |
| Keep in Hard Case | Always | Protects the fragile pad |
Does Temperature Matter?
Yes, temperature changes things a lot.
Cold wood acts differently than hot wood. A lot of new tools have built-in fixes for this. But older tools do not. If you leave wood in a freezing garage, let it warm up first. Bring it inside. Let it sit for a full day. Then test it.
The tool works best at normal room heat. You can check Family Handyman moisture meter tips for more on how weather affects wood. But my rule is simple. I test wood in the same room where it will stay forever. This gives the truest number.
Final Thoughts
Learning how to use a pinless moisture meter was a game changer for me. It completely stopped my projects from failing. I no longer guess if a board is ready. I know for a fact. It gives me peace of mind when I build furniture or lay down new floors.
Do not rush the process. Always set the right wood code. Keep the tool flat on the wood. Scan in three different spots. Avoid metal nails and thin edges. If you follow these seven easy steps, you will get perfect readings every single time. It is a small step that makes your hard work last forever.
Frequently Asked Questions
What is a normal moisture reading for indoor wood?
For most indoor furniture and floors, you want a reading between six and eight percent. Anything higher might shrink and crack as it dries inside your home.
Can a pinless meter read through paint?
Yes, it can. The radio frequency goes right through paint, varnish, and stain. This makes it perfect for checking finished cabinets or painted walls for water damage.
Why does my meter read high on thin wood?
The sensor looks deep into the wood. If the wood is thin, the sensor reads whatever is sitting under it. Always lift thin wood up into the air to get a true reading.
Do I need to calibrate my tool every single time?
It is a great habit. Air humidity and heat can shift the baseline. Turning it on and zeroing it out in the air ensures your first scan is perfectly accurate.
Can I use this tool on concrete walls or floors?
Some tools have a special concrete mode. If yours does, yes. It helps you check a concrete slab before laying down carpet or hardwood floors to stop mold.