
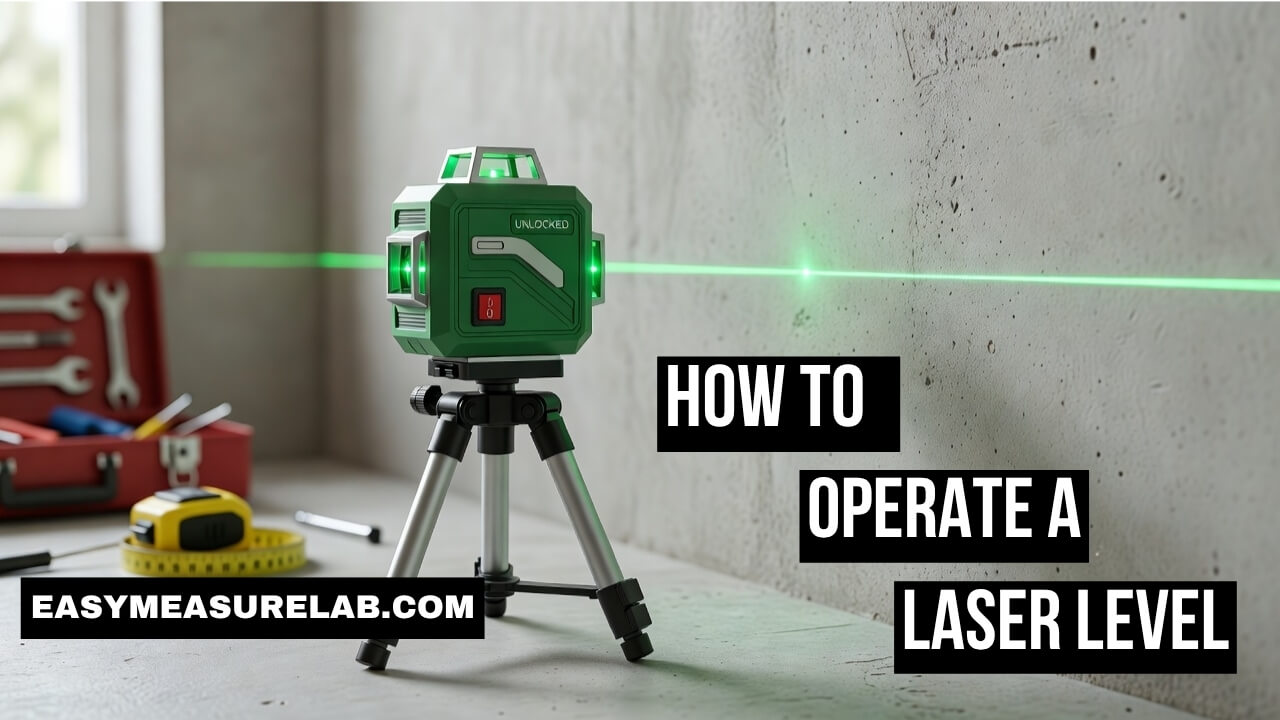
I remember my very first big home project. I wanted to hang a long wooden shelf in my living room. I used a simple bubble tool. The shelf looked perfectly straight to me. I drove the screws in. I put my books on it. Then, I stepped back to look. It was totally crooked. The books slid to one side. I felt so mad and foolish.
That exact day, I knew I needed better gear. I knew I had to learn how to operate a laser level. I went to the hardware store and bought one. It changed everything for me. You can do this too. This cool tool saves so much time. It saves your sanity. It keeps your walls looking great. I will show you exactly what to do. I will share my real mistakes and walk you through my exact 7-step process for getting perfect lines every time.
The Mistakes I Made Early On
When I first got the tool, I made silly errors. I thought it was just a magic box. I turned it on and hoped for the best. That did not work well at all.
I did not read the manual. I just pushed the power button. The line kept blinking at me, and I did not know why. I also tried to use a cheap red beam outside in the bright sun. I could not see the line at all. I thought the tool was broken. Learning how to operate a laser level takes a little patience. Once you know the tricks, it is incredibly easy.
| My Early Mistake | What Actually Happened | The Better Approach |
| I left the lock open in my truck. | The line bounced around later. | Always lock it before moving. |
| I used a red beam outside. | The sun washed out the light. | Use a green beam or a detector. |
| I ignored the blinking light. | My picture frames were slanted. | Let the tool auto-level first. |
7 Proven Steps: How to Operate a Laser Level
I use this exact process every time I pull my tool out of its case. Whether I am hanging a small mirror or building a massive deck, these seven steps never change.
Step 1: Prepare Your Workspace and Gear
You need a clear view of your work wall. Clear away boxes or tall chairs. You do not want anything blocking the light beam.
I like to put the tool in the exact center of the room. This gives me a long, wide line across all the walls. Before you begin, check your batteries. A dim light makes the job very hard. I always keep a fresh pack of batteries in my tool bag just in case.
Step 2: Set Up the Tripod Correctly
I always use a tripod. You can use a stack of books, but a tripod is much better. You can change the height fast.
I open the tripod legs wide. I press them flat on the floor. I check that it feels very steady. Do not place the legs on a soft rug if you can avoid it. When you walk on the rug, the tripod will shift. The line will bounce. Place the legs on a hard, solid floor for the best results.
Step 3: Mount and Secure the Device
Take the tool out of its protective case. Look at the bottom. You will see a hole with metal threads.
Screw the tool onto the top of the tripod carefully. I make sure it is very tight. I do not want it to fall and break. A fall will ruin the glass windows on the front. Double-check that the tool feels snug before you let go of it.
Step 4: Unlock the Pendulum Switch
This is the most vital step of the entire process. Inside the plastic box, a small weight hangs down. It is called the pendulum.
Gravity pulls this weight straight down. This is what makes the line perfectly level. When the tool is in storage, a lock holds this weight safe. You must slide the switch to unlock it. If you leave it locked, the line will turn on, but it will not be straight. It will just follow the tilt of your tripod.
| Switch Position | What It Means | When to Use It |
| Locked | Pendulum is frozen safe. | Storing or traveling. |
| Unlocked | Pendulum hangs free. | Working and measuring. |
Step 5: Power On and Wait for Auto-Leveling
Now comes the fun part. Press the power button on the top of the unit.
A bright red or green line will shoot across the room. The line will bounce up and down for a few seconds. Do not touch the tool. Let it rest. It will quickly stop moving. Most modern tools have a self-level feature. If your tripod is too crooked, the tool cannot fix it. The line will blink at you. If it blinks, adjust your tripod legs until the light turns solid.
Step 6: Cast the Line and Mark Your Targets
Once the light is solid, you are ready to work. You now have a perfect guide line on your wall.
I never draw a long pencil line on my wall anymore. I just use the bright light. If I am hanging a row of pictures, I line the top edge of every frame up with the beam. I make small pencil dots where the nails need to go. This keeps my walls clean. It saves me so much cleanup time later.
Step 7: Lock It Up for Safe Storage
Taking down the tool safely is just as important as setting it up. You want it to work next time, right?
First, turn off the power button. Second, and most importantly, slide the switch back to the locked position. This freezes that hanging weight inside. Finally, unscrew it from the tripod. Wipe any dust off the glass with a soft cloth. Put it right back into its hard foam case.
How to Operate a Laser Level Outdoors
Outside work brings a whole new challenge. The sun is your enemy here. The sun is far brighter than any battery tool.
I tried to build a wood fence once. I set up my tool in the yard. I turned it on. The beam vanished completely. The bright sun ate the light. I learned a big lesson that day. I read an article from Family Handyman that explained how to beat the sun. You cannot just use the naked light outside. You need extra help.
| Outdoor Problem | The Quick Fix | Why It Works |
| The sun hides the line. | Work at dusk or dawn. | Less sunlight makes the beam visible. |
| You cannot see the light. | Use a laser detector box. | The box hears the light you cannot see. |
| The wind shakes the tool. | Use sandbags on the tripod. | Heavy weight stops the wind from moving it. |
Using a Laser Detector
A detector is a small plastic box that changes everything for outdoor work. It catches the laser beam when your eyes cannot.
You turn the detector on. You slide it up and down a wooden measuring stick. When the box hits the hidden beam, it beeps loudly. A slow beep means move the box up. A fast beep means move it down. A solid tone means you are perfectly level. I use a detector for all my outside jobs now. I also check safety tips on OSHA Safety sites when working outside with heavy posts.
Common Problems and Quick Fixes
Tools can act weird sometimes. You might get frustrated on the job. Do not panic at all.
Most problems are very small. You can fix them fast. I have seen them all over the years. I keep a mental checklist. When the tool acts up, I check my list. You will learn the quirks of your own tool very soon.
| What the Tool is Doing | What It Means | How I Fix It Fast |
| The line is blinking. | The tool is tilted too far. | Adjust the tripod legs until it stops. |
| The light is very dim. | The batteries are dying. | Swap in brand new batteries. |
| The line looks fuzzy. | The glass is dusty. | Wipe the glass with a dry eyeglass cloth. |
Dealing with Fuzzy Lines
Sometimes the line gets wide and blurry on the wall. A blurry line makes for bad, sloppy marks.
This happens when the glass gets dirty. Home project zones are very dusty. Sawdust floats in the air. It sticks to the glass window on the tool. I always keep a clean cloth in my box. I wipe the glass gently. I never use rough paper towels. Paper towels can scratch the delicate glass. Scratched glass ruins the tool forever. A tip from Bob Vila taught me to only use microfiber cloths on tool glass.
Final Thoughts
Learning how to operate a laser level was a massive game changer for my DIY projects. I used to dread hanging shelves, fixing fences, or aligning heavy tiles. I hated the guessing. I hated the crooked results. Now, I actually look forward to these tasks. The tool takes away all the stress. It gives me a perfect guide every single time. It feels like having a tiny, expert helper right there in the room with me.
If you are new to this, take your time. Play with the buttons in a dark room first. Walk through my 7 steps. Watch how the line blinks when it is tilted. Once you practice for ten minutes, you will fully grasp how to operate a laser level. Remember to always lock the switch when you pack it up. Follow these easy steps, and your walls will never look crooked again.
Frequently Asked Questions (FAQs)
What is the first step in learning how to operate a laser level?
The first step is to place the tool on a steady surface and prepare your workspace. Then, make sure you unlock the pendulum switch before you turn the power on. This lets the inside parts hang straight.
Why does my laser line keep blinking on the wall?
The blinking light means the tool is sitting on a slope that is too steep. The internal weight cannot hang freely. You need to adjust your tripod or move the tool to a flatter spot until the blinking stops.
Can I use a red beam laser level outside in the sun?
It is very hard to see a red beam outside in bright daylight. Sunlight washes out the light easily. If you must work outside, you should use a green beam tool or buy a laser detector box to catch the signal.
Do I have to buy a tripod to use this tool?
You do not strictly have to buy a tripod, but it makes the job much easier. A tripod lets you change the height quickly. If you do not have one, you can set the tool on a firm stack of books.
What happens if I forget to lock the tool when I put it away?
If you leave the tool unlocked, the delicate pendulum inside will bounce around freely. If you drop the bag or hit a bump in your car, the swinging weight can break the internal wires and ruin the tool.
1 thought on “How to Operate a Laser Level: 7 Proven Steps”