
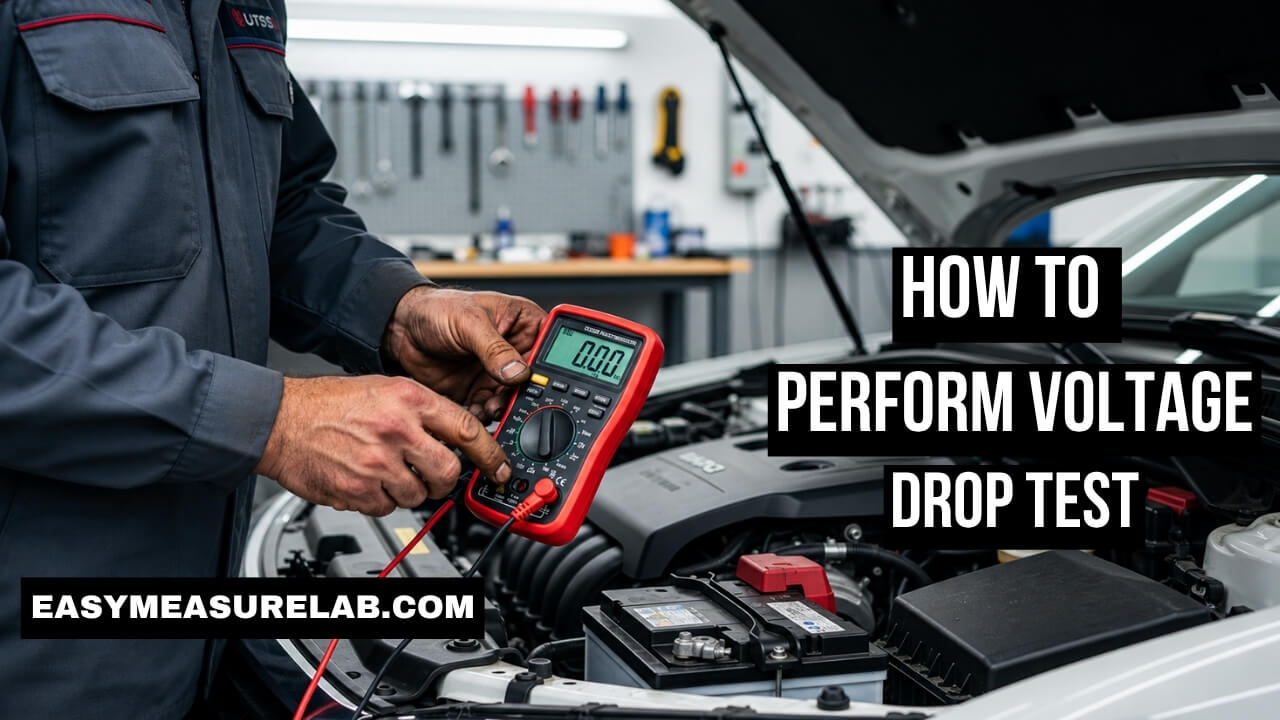
I remember my first electrical nightmare. My truck would not start. I bought a new battery. Nothing happened. I bought a new starter. It still just clicked. The real problem was a dirty ground wire. If I knew how to perform voltage drop test back then, I would have saved 300 dollars and a whole weekend.
Many people guess when fixing electrical issues. They replace parts and hope for the best. That is a bad strategy. Wires can look perfect on the outside but be broken inside. Today, I will show you how to find the exact problem. You will learn the exact steps I use in my own garage. It is much easier than it sounds.
What Is a Voltage Drop Test?
A voltage drop test finds hidden resistance in a wire. Electricity flows through wires like water through a pipe. If the pipe is clogged, less water gets through. If a wire is corroded, less voltage gets through.
We use a multimeter to measure the lost voltage. The tool tells us exactly where the clog is. You do not need to cut open the wire loom. You just need to touch the metal ends.
Why Ohms Testing Usually Fails
When I first started, I used the ohms setting on my meter. I would test a wire for resistance. It always beeped. The meter said the wire was good. But the car still failed.
Here is what I learned. A wire with just one single copper strand intact will pass an ohms test. The meter uses very little power. But a starter motor needs huge power. That single strand will burn up under a real load.
When you learn how to perform voltage drop test, you test the wire while it is working. The circuit must be on. This is the only way to see if the wire can carry a heavy load.
| Testing Method | How It Works | Good For |
| Ohms Test | Sends tiny power through a dead wire. | Checking blown fuses. |
| Voltage Drop Test | Measures lost power on a live circuit. | Finding bad wires and grounds. |
Tools You Need Before We Start
You do not need expensive tools. A basic setup works fine. I used a cheap meter for years.
You need a digital multimeter. It should read DC volts. You also need safety glasses. Car batteries can spark. Be safe.
If you want to upgrade later, look at Fluke multimeters. They are the industry standard. But any basic meter will get you started today.
You might also want long test leads. Sometimes you need to reach from the battery to the back of the car. Jumper cables can work as lead extensions in a pinch.
How to Perform Voltage Drop Test on a Starting Circuit
The starter circuit is the most common test. When your car just clicks, you need this test. Do not buy a starter yet. Test the wires first.
You will need a helper for this. Someone needs to turn the key while you test. The circuit must have a load on it.
Step 1: Set Up Your Multimeter
Turn your multimeter dial to DC volts. It usually looks like a “V” with a solid line over it. Some meters have dashes under the solid line.
Plug the black lead into the “COM” port. Plug the red lead into the “V” port. Turn the meter on. Make sure the screen reads 0.00.
Step 2: Test the Battery First
You cannot test wires if the battery is dead. Check the battery voltage first. Put the red lead on the positive post. Put the black lead on the negative post.
A good battery reads 12.6 volts when resting. If it reads under 12 volts, charge it. According to the Battery Council International, a low battery will ruin your test results.
Step 3: Check the Positive Side Under Load
Now we test the big red wire. This wire goes from the battery to the starter.
Put your red meter lead directly on the center of the positive battery post. Do not put it on the clamp. Touch the lead to the actual lead post.
Put your black meter lead on the big power stud on the starter motor. Now, tell your helper to turn the key and crank the engine.
Read the meter while the engine is cranking. You want to see less than 0.5 volts. If the meter says 2.0 volts, you are losing 2 volts in that cable. The cable is bad.
Step 4: Check the Ground Side Under Load
Do not skip this step. Bad grounds cause most electrical problems. The ground path uses the engine block and the frame.
Put your black meter lead on the negative battery post. Put your red meter lead on the metal case of the starter motor.
Tell your helper to crank the engine again. Read the meter. You should see less than 0.2 volts. If you see a high number, the starter is not grounding properly. The engine ground strap might be broken.
| Circuit Being Tested | Maximum Allowed Voltage Drop |
| Starter Positive Cable | 0.5 Volts Max |
| Engine Ground Circuit | 0.2 Volts Max |
| Sensor Wiring (Computers) | 0.1 Volts Max |
My Biggest Mistakes When Learning
I made lots of errors when I started doing this. I want to share them so you can avoid them. Testing is easy, but small details ruin the results.
My biggest mistake was testing a dead circuit. I would leave the key off. I would touch the probes to the wire. The meter read zero. I thought the wire was perfect.
You must turn the circuit on. If you test a headlight wire, turn the headlights on. If you test a fuel pump, the pump must be running. No load means no drop.
Piercing the Wires
I used to poke holes in wires with sharp probes. This is a terrible idea. It works in the moment. But water gets into that tiny hole later.
The copper inside will turn green. It will rot away. A year later, you will have a new problem. Always test at the connectors. Back-probe the plugs if you have to. Do not stab the insulation.
| Bad Habit | What Happens | What to Do Instead |
| Testing with power off | Meter shows 0.0V (False good) | Turn the circuit ON before testing. |
| Piercing wire insulation | Wire rots from water damage | Back-probe the metal connectors. |
| Touching battery clamps | Misses corrosion on the post | Touch the actual lead battery posts. |
Real-World Scenario: Fixing Dim Headlights
Let us talk about a very common issue. Dim headlights. Many people buy expensive LED bulbs. But the problem is usually the old wiring.
When you know how to perform voltage drop test, you can fix this fast. Turn the headlights on. They must be glowing for this to work.
Testing the Headlight Power
Put your red lead on the positive battery post. Put your black lead on the power wire right behind the dim headlight bulb.
Look at the meter. If you see 1.5 volts, the bulb is starved for power. The electricity is getting lost in the switches or the long wire run.
Testing the Headlight Ground
Now move the leads. Put your black lead on the negative battery post. Put your red lead on the ground wire behind the headlight bulb.
If you see a drop of 1.0 volt, your ground is bad. Clean the spot where the wire bolts to the car frame. Scrape the paint away. Make the metal shiny. Your lights will get bright again.
| Headlight Symptom | Likely Test Result | Best Action |
| One light is dim | High drop on ground side | Clean the local fender ground bolt. |
| Both lights are dim | High drop on positive side | Check the main headlight relay. |
| Lights flicker over bumps | Meter jumps wildly during wiggle | Fix the loose connector plug. |
Why the Wiggle Test Works
Sometimes a car acts up randomly. It works fine in the driveway. It stalls over speed bumps. These are intermittent faults.
A voltage drop test can find these too. You just need to add a wiggle. Hook up your meter leads to the suspect circuit. Turn the circuit on.
Now, grab the wire harness. Shake it gently. Wiggle the connectors. Watch the meter screen.
If the voltage drop suddenly spikes up when you wiggle a plug, you found the problem. The metal pins inside the plug are loose. You just saved yourself hours of guessing.
Advanced Tips for Testing Hard-to-Reach Wires
Modern cars are packed tight. You cannot always reach the starter or the alternator easily. You have to get creative.
I use T-pins. You can buy them at a craft store. Slide the pin carefully into the back of a weather-pack connector. Let it touch the metal terminal inside.
Then, touch your meter lead to the T-pin. This is called back-probing. It does not damage the wire.
Extending Your Meter Leads
Your meter leads are only three feet long. You cannot reach from the trunk to the battery. You need a jumper wire.
Take a long piece of good copper wire. Clip it to the battery post. Bring the other end to the trunk. Now you have a direct battery connection right where you are working.
Make sure the jumper wire is thick. A thin wire will cause its own voltage drop. That will mess up your math.
| Probing Method | Pros | Cons |
| Front Probing | Easy to reach | Can stretch and ruin terminal pins. |
| Back Probing | Safe for terminals and wires | Hard to do in tight spaces. |
| Using Jumper Wires | Great for long distances | Must use thick, quality wire. |
When a Good Wire Fails the Test (Hidden Culprits)
Sometimes you test a wire and it fails. You cut it open. The copper looks brand new. Why did it fail?
There are hidden problems that cause voltage drop. The wire itself is only one part of the circuit.
Bad Crimps and Loose Bolts
A wire might be perfectly fine, but the metal ring at the end is bad. Factory crimps can get loose over time. Water gets inside the crimp. Corrosion builds up where you cannot see it.
I always test across connections. I put one lead on the wire itself. I put the other lead on the metal ring terminal. If I see a drop there, the crimp is bad.
Always check your bolts. A loose ground bolt causes massive voltage drop. Check guidelines from ASE for proper torque specs. A tight bolt makes a clean electrical path.
Fuses and Switches
Switches go bad inside. The metal contacts get burned. A relay might click loudly, but the power does not flow through it well.
You can perform a voltage drop test right across a switch. Put one lead on the incoming power wire. Put the other on the outgoing power wire.
Turn the switch on. If you see voltage on the meter, the switch is bad. A perfect switch should have zero drop. It should act exactly like a solid piece of wire.
| Hidden Issue | Where to Look | Quick Solution |
| Bad Crimp | Where wire meets terminal | Cut and solder a new ring terminal. |
| Burned Switch | Inside relays or dash buttons | Replace the switch or relay. |
| Corroded Fuse | Inside the fuse box | Clean the metal fuse box prongs. |
Testing the Alternator Charge Wire
The alternator keeps your battery alive. If the wire between them goes bad, your battery will die. This happens a lot on older cars.
You can test this easily. Start the engine. Turn on the headlights and the heater fan. This puts a heavy load on the alternator.
Put your red meter lead on the big power stud on the back of the alternator. Put your black lead on the positive battery post.
Read the meter. A good charge wire will show less than 0.3 volts of drop. If you see 1.0 volt, the alternator is working hard, but the power is not reaching the battery.
Check the Popular Mechanics guide on car wiring for more tips on upgrading old alternator cables. A thicker cable often solves this exact problem.
Reading the Multimeter Screen Properly
Meters can be confusing. Sometimes you see strange things on the screen. It helps to know what they mean.
If you hook the leads up backward, you will see a minus sign. The screen might say -0.5 volts. Do not worry. The number is still correct. The minus just means reversed polarity. Just ignore the minus sign.
What Does OL Mean?
Sometimes the screen says “OL”. This stands for Open Loop. It means the meter sees no connection at all.
If you get an OL reading during a voltage drop test, the wire is completely cut in half. The circuit is entirely broken. No electricity is flowing.
Always check your meter leads if you see OL. Touch the red and black probes together. The screen should drop to zero. If it stays on OL, your meter leads are broken inside.
Final Thoughts
Learning how to perform voltage drop test changed how I work on cars. I stopped throwing expensive parts at simple problems. It takes a little practice, but the concept is very simple. Electricity needs a clean path. Your meter shows you exactly where the path is broken.
Do not let electrical problems scare you. Grab a basic multimeter. Turn the circuit on. Test the power side, then test the ground side. You will find the bad connection faster than you think. Keep your wires clean, your bolts tight, and stay safe in the garage.
Frequently Asked Questions (FAQs)
1. Do I need an expensive multimeter to perform a voltage drop test?
No. Any basic digital multimeter that reads DC voltage will work perfectly. You just need it to read down to the tenths or hundredths of a volt accurately.
2. Can I do a voltage drop test if the car battery is completely dead?
No. The circuit must have power flowing through it to create a measurable drop. Charge the battery to at least 12.4 volts before testing any circuits.
3. Why do I need to turn the component on during the test?
Voltage only drops when electrons are moving. If the switch is off, there is no electrical flow. You must load the circuit to expose the hidden resistance inside the wire.
4. What is an acceptable voltage drop for a car ground wire?
Most automotive systems should show a drop of 0.2 volts or less on the ground side. Anything higher means there is corrosion, a loose bolt, or a broken wire causing resistance.
5. How is a voltage drop test better than using the ohms setting?
An ohms test uses almost no power, so a wire hanging by one copper strand will pass. A voltage drop test pushes real working power through the wire, exposing weak spots instantly.